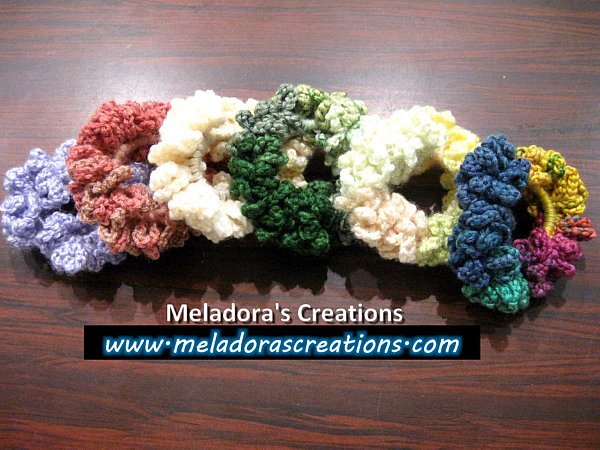
These Chain Scrunchies are so easy to make! It uses the most basic stitches. All you need is scrap yarn and a rubber band.
I like summer, but with it comes heat! Which can make it hard to crochet big projects. So I look for nice quick crochet projects that you can use cooler softer yarn on. This got me thinking about hair accessories.
I had been making a lot of Crochet Flower Purses at the time and I thought why not use this method of chaining to create a scrunchy. It turned out fantastic! This is my go to scrunchy pattern out of the 4 or 5 scrunchies I’ve designed. The yarn never gets stuck in your hair, and it always looks great after you put it on.
Be sure to sign up for my newsletter so you can always be update date with the free patterns I release as they come out! https://www.meladorascreations.com/sign-up-for-newsletter/
You can find more things like this under the category Hair Accessories
Other patterns that use this stitch are:
- Shaggy Scrunchie
- Double Crochet Scrunchie
- Mini Chain Scrunchie
- Flower Petal Scrunchie
- Cotton Pac Scrunchie
- Pom Pom Scrunchie
- Fuzzy Scrunchie
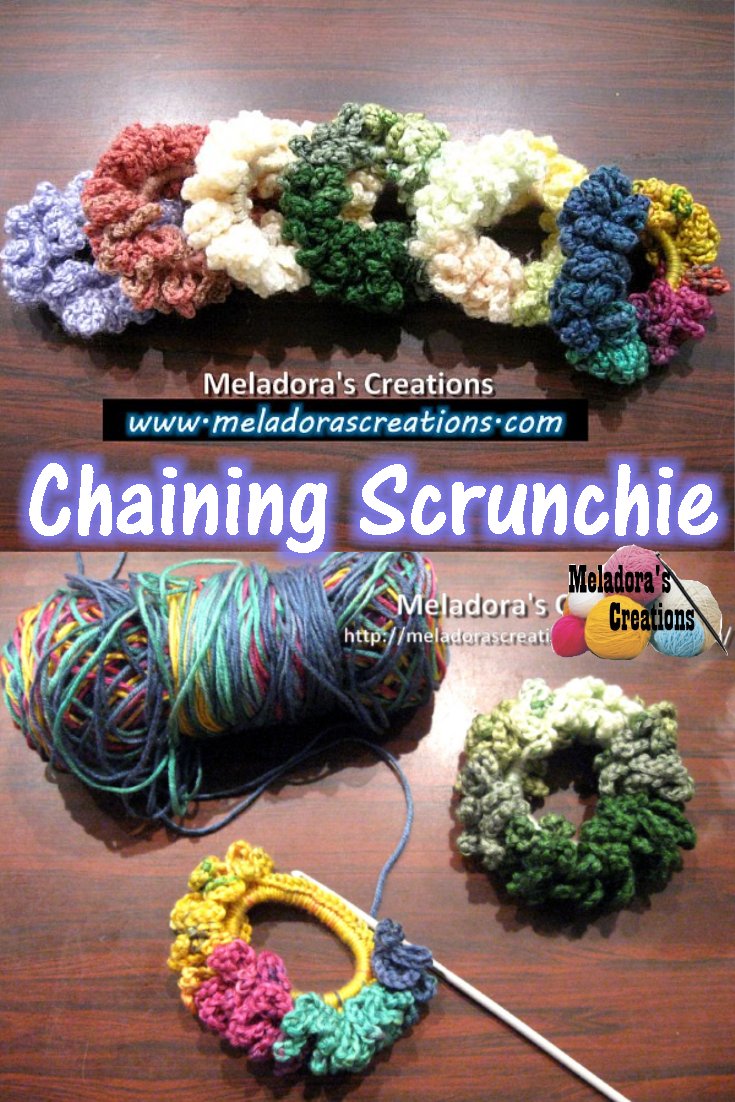
Chain Scrunchie – Free Crochet Pattern
Please don’t forget to Pin this onto your favorite crochet boards!
This page contains affiliate links
For this project you’ll need:
HOOK: 3.5mm hook / E hook
YARN: 3 light worsted weight yarn (8 ply)
a rubber band that has some sort or thin cover like you see in the picture below
ABBREVIATIONS
(click on link to find tutorials)
ch = Chain
sl st = Slip Stitch
st = Stitch
SC = Single Crochet
sl st = slip stitch
sp = space
st(s) = stitch(es)
Repeat what’s in between * for rest of round.
THE VIDEO TUTORIALS:
RIGHT HANDED VERSION
LEFT HANDED VERSION
If you haven’t yet, take a moment to subscribe to my videos on YouTube to have easy access to all my videos and playlist @meladora1 on YouTube
Come visit me over on my Facebook Group where I share free pattern links Daily!
PDF Pattern with Pictures
You can find the PDF version of my pattern with pictures on Ravlery Or my shop on Etsy. Thank you very much for all you do to support my channel.
Remember to sign up for my newsletter so you can stay up to date with my free pattern releases as they come out! https://www.meladorascreations.com/sign-up-for-newsletter/
Round 1
Go in through the center of the rubber band, pull up some yarn, and then grab more yarn to complete you first sc.
Tighten up the stitch to the rubber band if you can.

Now continue around, single crocheting and hiding you rubber band.
Keep pushing your stitches tighter against one another, but not to tight where you won’t be able to work with them later on.
Round 2
When you get to the end of the row, sl st and ch 10,
sl st into the same st, ch 10, sl st into same st,
ch 10 and sl st into the same stitch total of 3 connections in the st,
then ch 10 and sl st into next stitch (this counts as first connection)
ch 10 and sl st into same stitch, (second connection)
ch 10 and sl st into same stitch for your third and final connection into this stitch,
now ch 10 and sl st into next st and repeat, making sure you have 3 connections per stitch.
Continue all the way around to beginning, where you will sl st to beginning ch 2 and ch1, cut yarn. And enjoy!
This pattern is brought to you by www.meladorascreations.com
You can sell any item made from this pattern and link back to my page or videos, but you do not have permission to copy and paste my pattern anywhere online. ©Copyright 2023, All Rights Reserved
PLEASE READ BELOW!
If you’d like to see my channel stay and grow, please consider becoming a patron.
Or you could make a one time donation through PayPal. Thank you so much for your support! God Bless!