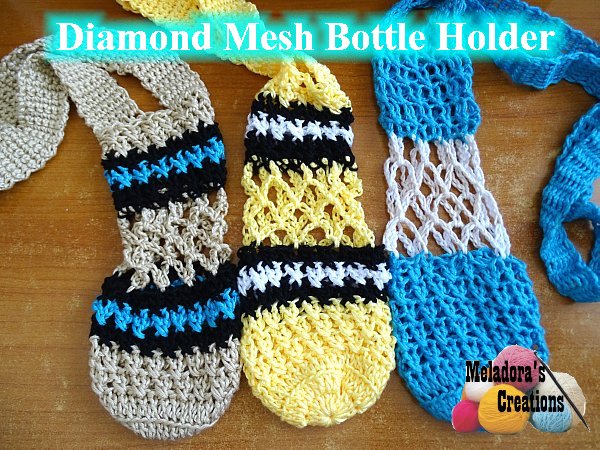
This Crochet tutorial and pattern will teach you How to Crochet a Water Bottle Holder. This quick to make Diamond Mesh Bottle Holder. Best made with cotton or 2 ply acrylic for less stretching.
You can find more things like this under the category Bags and Purses
Diamond Mesh Bottle Holder– Free Crochet Pattern and Video tutorial
Please don’t forget to Pin this onto your favorite crochet boards!
This page contains affiliate links

For this project you’ll need:
- HOOK: 5 mm hook or size H hook for the US
- YARN: skeins of cotton, 2 ply US, 5 ply AU
If using 3 colors like shown in this pattern and tutorial, then you will need less than a skein for the main color and small amounts of the other two colors.
ABBREVIATIONS
(click on link to find tutorials)
ch = Chain
SC = Single Crochet
DC = Double Crochet
sk a st = skip a stitch
Beg st = beginning stitch
sl st = slip stitch
* repeat what’s in between for round
SPECIAL STITCH:
Cross stitch = Skip 1 stitch and DC in the next, then back up and DC in the skipped stitch. Here is a tutorial if you need further help
THE VIDEO TUTORIALS:
All my Video Tutorials
If you haven’t yet, take a moment to subscribe to my videos on YouTube to have easy access to all my videos and playlist @meladora1 on YouTube
To start:
ch 3 and sl st in beg ch to form a ring.
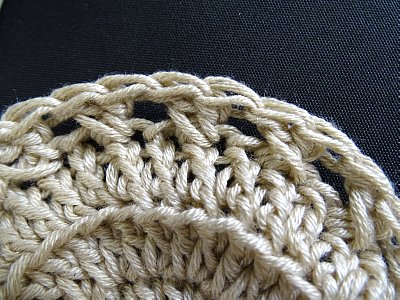
Round 1
ch 2 and dc 15 into center of ring. Work over your tail to use it later to close the hole some. Sl st in beg ch 2 to end round (16 sts)
Round 2
ch 2 and dc 1 into same stitch, dc 2 in all sts around (32 sts)
Round 3
ch 2, using back loops only dc 1 in all sts around, sl st in beg ch 2 to end round (32 sts)

Round 4
ch 2 and back up and dc in previous stitch to create your first cross stitch. Continue working cross stitches all the way around for this round. See Special stitch above for cross stitch instructions. Sl st in beg ch 2 to end round. You should have 16 cross stitches total.

Rounds 5 – 8
Your next 4 rounds will be worked the same way. Ch 2 and DC in the previous stitch. This round you should be working a DC in the DC of one cross stitch and finishing cross stitch by DCing in the DC of the previous cross stitch. This way your cross stitches are running diagonal and not straight up and down. I think it looks so much better this way.
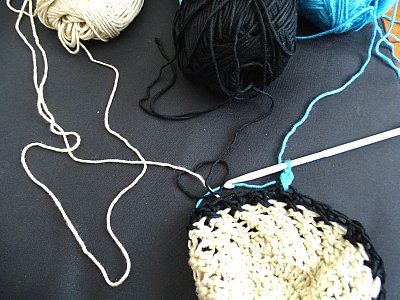
COLOR CHANGES: read note below before starting color changes
- Round 5 – I continued with the main color still which was brown \ tan
- Round 6 – using black
- Round 7 – using teal
- Round 8 – using black

NOTE: No need to cut yarn between the black rounds because you will be picking the color back up. I also left my main color connected, only cut your yarn after the teal color on round 7. BE CAREFUL after each color change that you skip over to the correct stitch of the next cross stitch to make your first dc, so that you can finish your cross stitch by DCing in the previous cross stitch. To keep your cross stitches running diagonal.
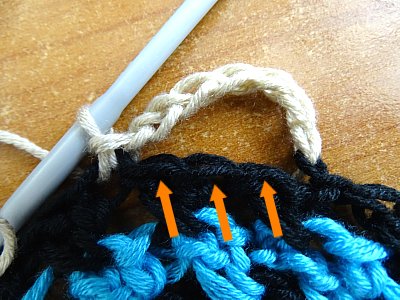
Round 9
Switch back to your main color and cut the black and teal colors. Bring your main color back up loosely if it’s still attached and sl it in the black loop and pull black color tight to have the change of color complete.
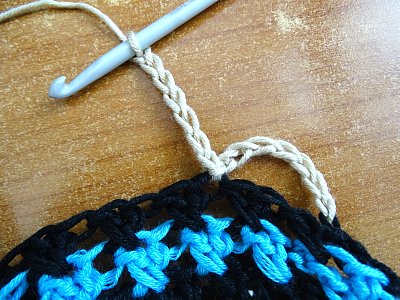
CH 7, skip 3 sts and sl st into 4th st. Ch 7 again and repeat pattern for rest of round. Sl st in same beginning stitch that you started your 1st ch 7 in.

Rounds 10 – 12
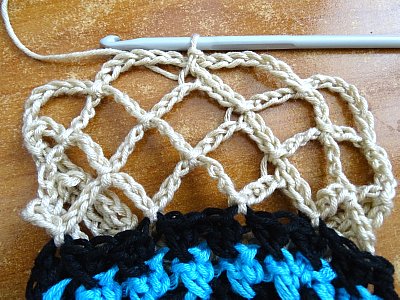
sl st up the ch 4 times to bring you up to middle of ch 7, then * ch 7 and sl st in the next ch 7 space * repeat for round. Sl st in the same st where you began your ch 7, in the sl st at the tip where you sl stitched up to.


Round 13
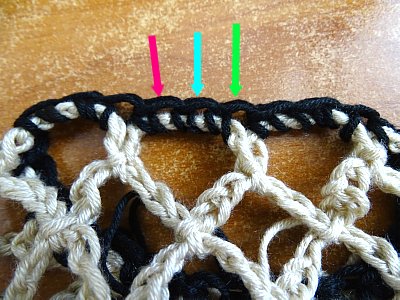
change to the color black again, ch 1 and sc 3 into the 1st ch 7 and repeat for round sc 3 in each ch 7 space. Sl st in beg ch to end round.
Round 14
continue with the color black. Ch 2 and then dc in previous stitch to complete your first cross stitch. Repeat your cross stitches for the round as you did before. You should have 12 cross stitches this round.
Round 15
change to teal Ch 2 and then dc in previous stitch to complete your first cross stitch. Repeat your cross stitches for the round as you did before.
Round 16
repeat round 14
Round 17
change back to main color, Ch 2 and then dc in previous stitch to complete your first cross stitch. Repeat your cross stitches for the round as you did before.
Round 18
still with main color, Ch 2 and then dc in previous stitch to complete your first cross stitch. Repeat your cross stitches for the round as you did before.

Making the Strap
Round 1
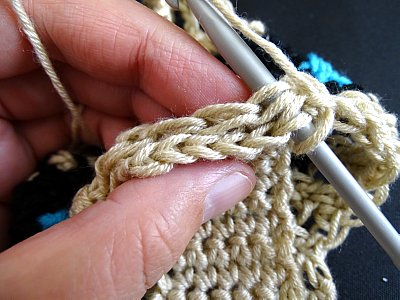
Using the main color, ch 1 and sc into same stitch. Sc into the next 5 sts.
Round 2 – ?
ch 1 and turn, sc in all 6 sts.

Repeat round 2 for about 40 to 50 rounds, depending on how long you want your bottle holder strap to be, keep in mind with use this strap will stretch to become longer, so make it shorter than true desired length, so after some use of the bottle holder the strap won’t grow to be to long.
When ready to attach strap to other side, turn bottle holder inside out and Go in through the stitch on the strap first, then through the stitch on the bottle holder and either sl st or single crochet sew the 6 stitches onto 6 stitches of the bag holder on other side.
This pattern is brought to you by www.meladorascreations.com
You can sell any item made from this pattern and link back to my page or videos, but you do not have permission to copy and paste my pattern anywhere online. ©Copyright 2024, All Rights Reserved
PLEASE READ BELOW!
If you’d like to see my channel stay and grow, please consider becoming a patron.
Or you could make a one time donation through PayPal. Thank you so much for your support! God Bless!