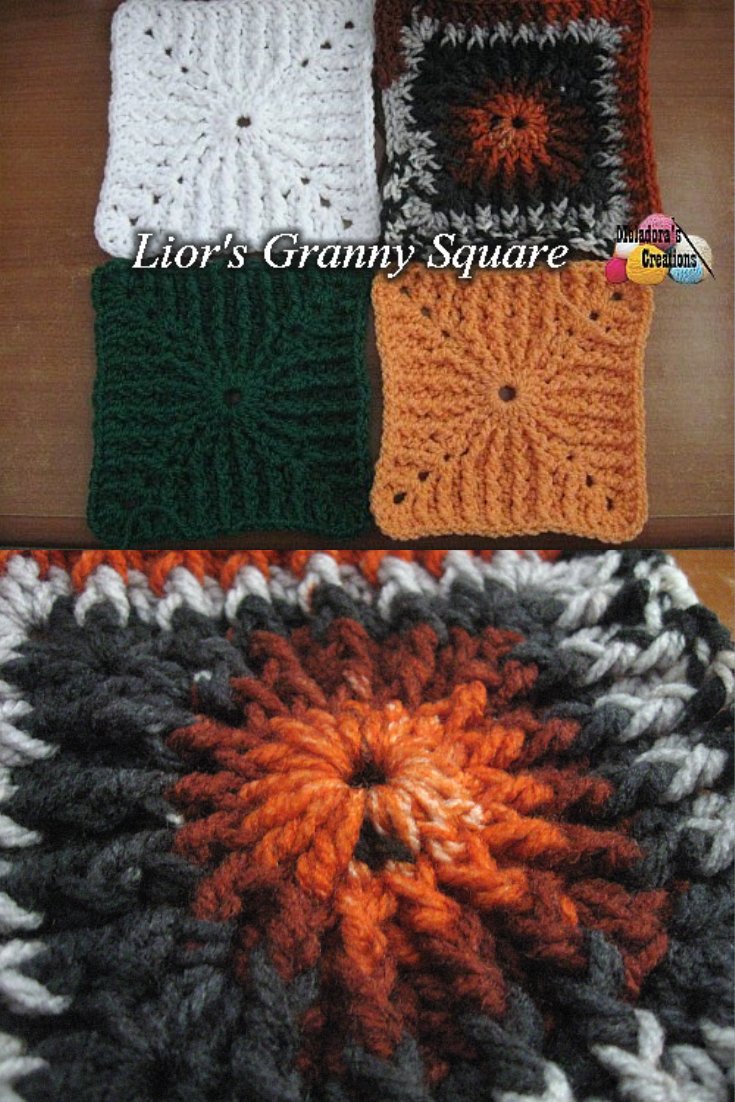
How did this “Lior’s Granny Square” come about? Well, I love my kids and I love crochet. I’ve made many crochet pieces for them, but I thought what about designing something dedicated to the fact that they’re alive and I love them. Hence came 2 granny squares designed for each of my 2 children. This one’s for my son Lior, my youngest.
You can find Lilly’s square here
You can find more afghan patterns under the category Granny Squares
Other Patterns that use this stitch:
Be sure to sign up for my email so you can always be update date with the free patterns I release as they come out! https://www.meladorascreations.com/sign-up-for-newsletter/
Lior’s Granny Square – Free Crochet Pattern
This page contains affiliate links

For this project you’ll need:
HOOK: 5 mm hook or size H hook for the US but you can use any size yarn and hook that is recommended by the yarn.
YARN: 1 skein of worsted weight yarn, 4 ply US, 10 ply AU
100 grams / 3.5. oz
240 meters / 262 yards
Another yarn brand with color options
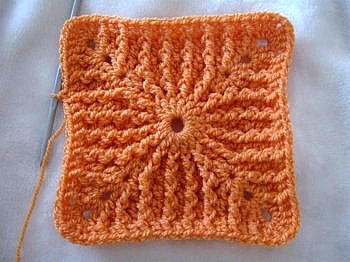
I made mine with the yarn and hook stated above and my square measured from corner to corner 8 ½ inches or 22 cm. If you want a 6 inch square just do one less round. I later tried a scrap yarn square. Looks wild don’t you think?
ABBREVIATIONS
ch = Chain
sl st = Slip Stitch
st = Stitch
beg = beginning stitch
sk = Skip
YO = Yarn Over
dc = Double Crochet
FPDC = Front Post Double Crochet
* = Repeat what is in between the stars for the rest of the row
THE TUTORIALS:
RIGHT HANDED VERSION
LEFT HANDED VERSION
If you haven’t yet, take a moment to subscribe to my videos on YouTube to have easy access to all my videos and playlist
To start:
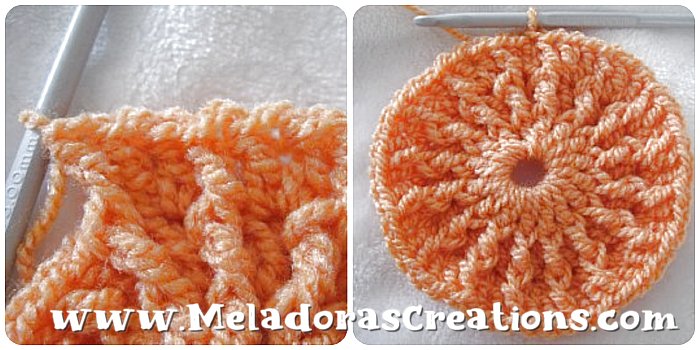
Ch 4 and sl st into beg ch to form a ring.
Round 1
ch 2 (counts as first DC) DC 15 into center ring ( 16 sts)
Round 2
Ch 2 and FPDC onto the ch 2 space below, * DC 1 into next stitch, then FPDC on the same DC, only use the post. * repeat.
To end sl st in beg ch 2 (32 sts)

Round 3
ch 2 and DC in the same st, FPDC onto the FPDC from last round, *DC 2 into next stitch, FPDC onto the FPDC from last round. * repeat until end. Sl st in beg ch 2. (48 sts)

Round 4
ch 2 and FPDC onto the first FPDC below, * { sk a st and DC into next st, FPDC on the FPDC } repeat 2 more times. Now to create our first corner, sk a st and DC3, ch 1, DC 3 all in the same st. FPDC on the FPDC. * repeat what’s in between *s 3 more times until you reach the beginning of your row. Sl st in beginning FPDC not the ch 2. (53 sts)

Round 5
ch 2 * { FPDC on the FPDC, DC in the next st } repeat 3 more times which should bring you the corner. * repeat what’s in between *s 3 more times. After your last corner, sk a st, FPDC on FPDC, dc in the last st before the end, sl st in beg FPDC.
The square is about 6 inches here, so stop here if you want a 6 inch square.

Round 6
ch 2 * { FPDC on the FPDC, DC in the next st } repeat 4 more times which should bring you the corner. Sk a st and DC 3, ch 1, DC 3 in corner ch 1 space. Sk a st * repeat what’s in between *s 3 more times. After your last corner, sk a st, FPDC on FPDC, DC in the next st, FPDC onto the FPDC, DC in next st, sl st in top of beg FPDC. Ch 1 and cut your yarn. (60 sts)

This pattern is brought to you by www.meladorascreations.com
You can sell any item made from this pattern and link back to my page or videos, but you do not have permission to copy and paste my pattern anywhere online. ©Copyright 2015, All Rights Reserved
~~~~~~~~~PLEASE READ BELOW!~~~~~~~~~~
If you’d like to see my channel stay and grow, please consider becoming a patron.
Or you could make a one time donation through PayPal. Thank you so much for your support! God Bless!

