
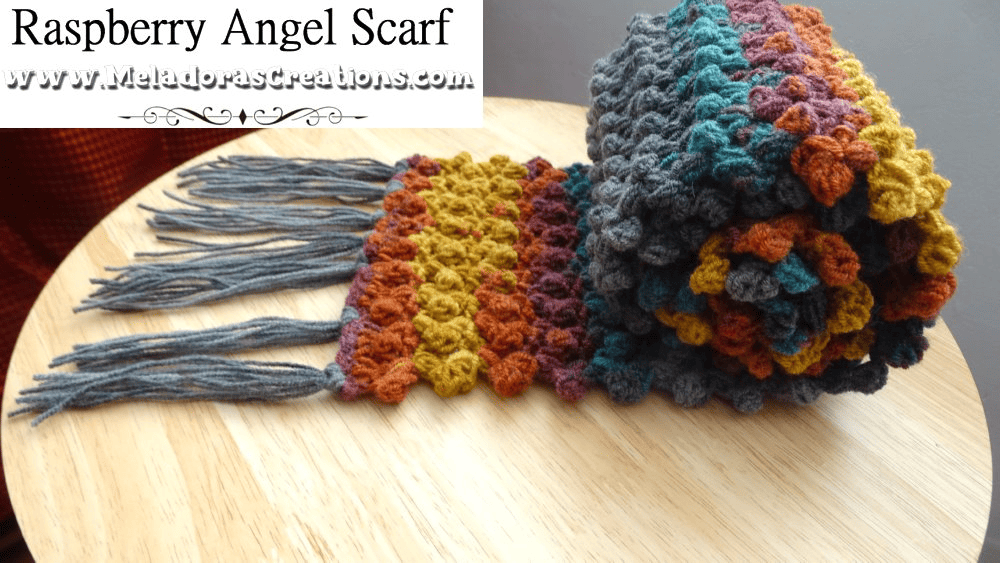
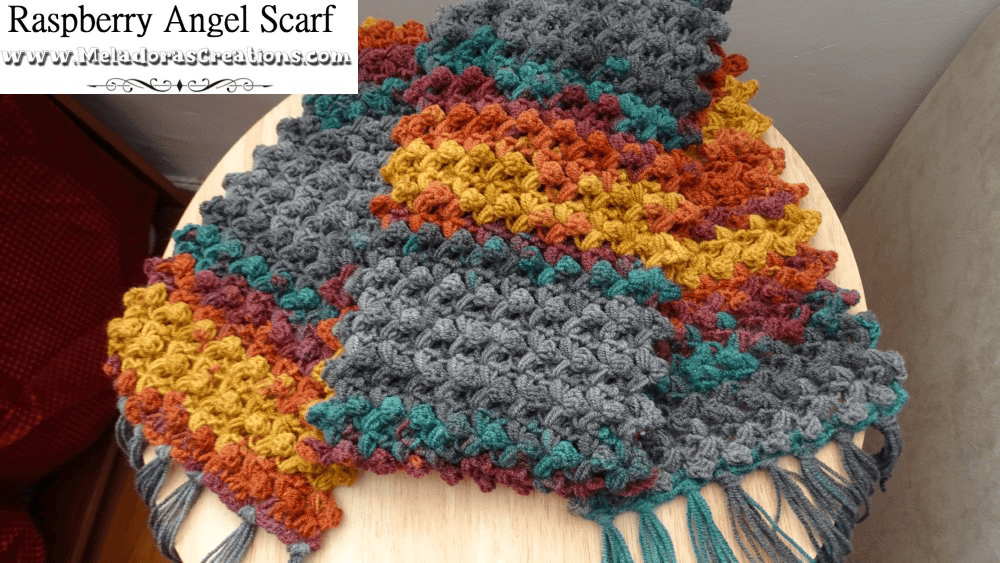
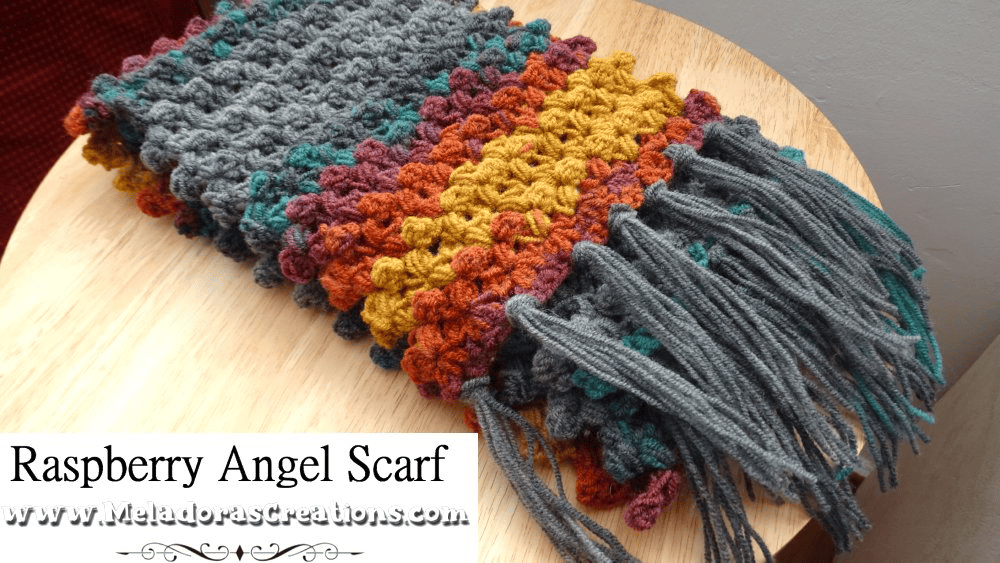
I made a blanket a few years back that I just loved and had lots of texture, but because it was a blanket, I crocheted a border around it and I always told myself I would make a scarf one day to show you how cool this pattern looks when you leave it natural. Made this Raspberry Angel Scarf Crochet Tutorial teaching using two sizes to see what it would look like.
Other Patterns that use this stitch:
Raspberry Angel Baby Crochet Afghan
Raspberry Angel Scarf – Free Crochet Pattern and Video Tutorial
Please don’t forget to Pin this onto your favorite crochet boards!
This page contains affiliate links

For this project you will need:
- HOOK: 5 mm hook or size H hook for the US
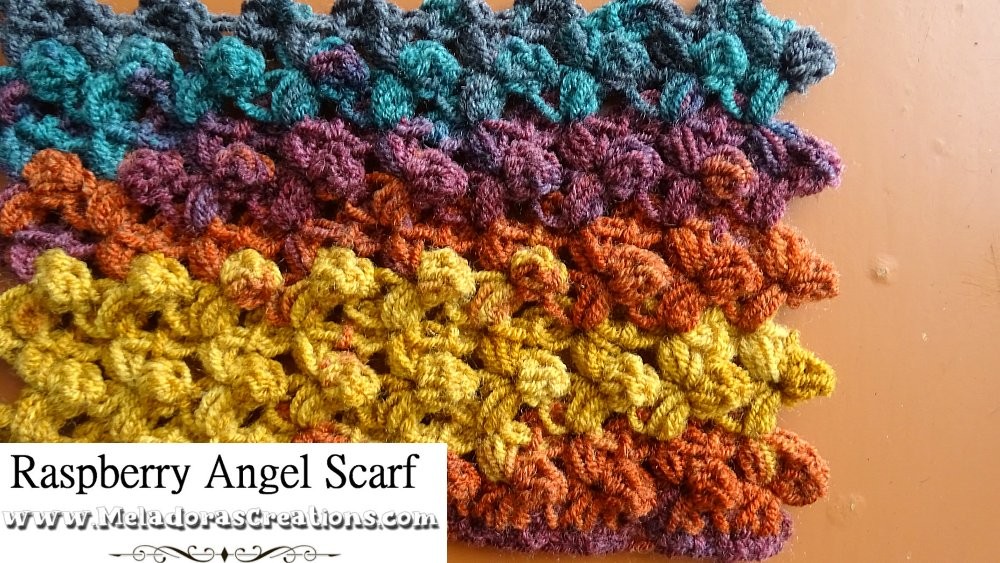
- YARN: Worsted weight yarn, 4 ply US, 10 ply AU – Variegated yarn works great for this pattern too. I used one skien but get 2 if you like longer scarves.
ABBREVIATIONS
(click on link to find tutorials)
ch = Chain
sl st = Slip Stitch
st = Stitch
sk = Skip
beg = beginning
YO = Yarn Over
SC = Single Crochet
DC = Double Crochet
RS = Raspberry Stitch
Repeat what’s in between * for rest of round.
THE VIDEO TUTORIALS:
All my Video Tutorials
If you haven’t yet, take a moment to subscribe to my videos on YouTube to have easy access to all my videos and playlist @meladora1 on YouTube
PDF Pattern with Pictures
You can buy the ad free PDF version of my pattern with pictures on Ravelry or Etsy to support this channel. Either way thank you for being here and for all you do to support my channel.
Multiples of the stitch
The multiples of this stitch is 3
The Sizes I made
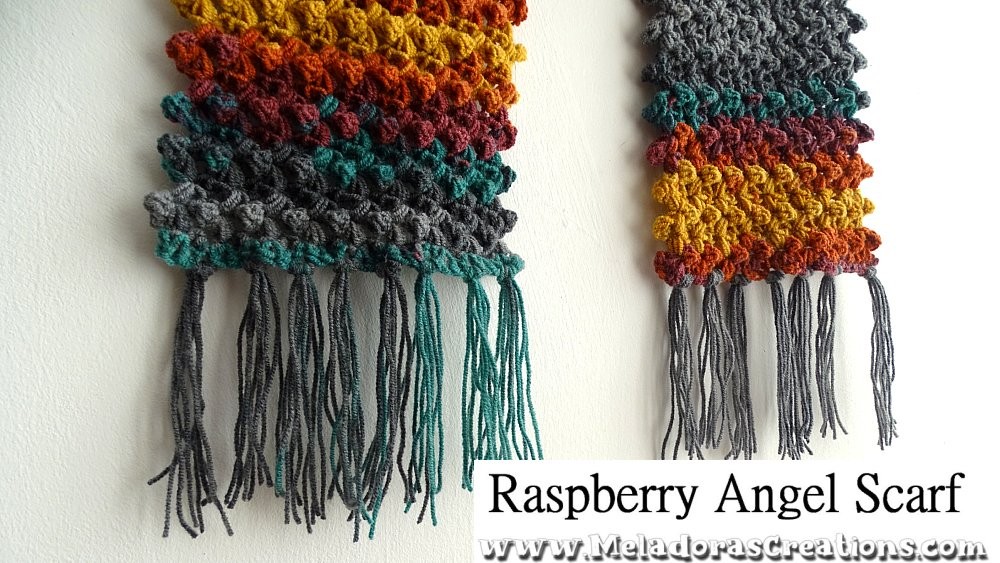
Wider Multi colored scarf – 17 cms or 6 1/2 inches. You can make it as long as you want.
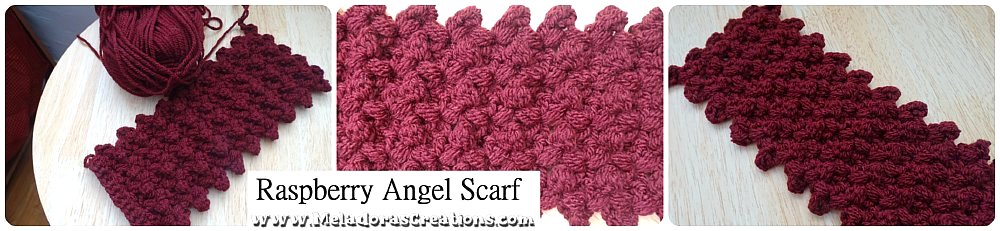
The skinny marron scarf – 10 1/2 cms or 4 inches
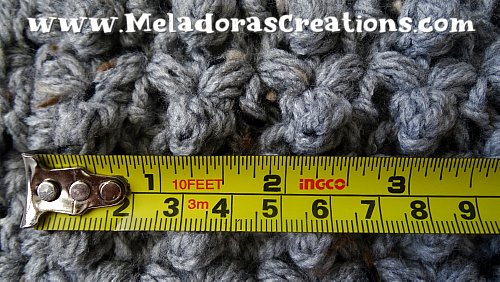
GAUGE of this stitch
One Raspberry Angel st is 1 inch or 2 ½ cm
IMPORTANT NOTE:
The way the stitch is done in row 1 is different than how you will be doing it for the rest of the afghan because for row 1 only you will be using chain sts and the rest of the time you will be using one single stitch to make your RA’s.
To Start
- Ch 26 for wider Multi colored scarf
- Ch 15 for the skinny marron scarf
I am teaching this using the beginning chain but for a more stable first row you could do a SCFS using the same stitch count of multiples of 3 OR ch + 1 and SC in all your stitches.
Row 1 – NOTE you are using 3 chs to create one RA st here.
– Insert your hook into the 3rd ch from the hook and pull up a loop (2 loops on the hook)
YO and insert your hook into the next ch space (4 loops)
YO and insert your hook into the next ch space (6 loops)
YO and pull through all 6 loops and ch 1
– Now using the ch 1 stitch you just created
SC, DC, SC into that ch 1 space.
No need to skip any stitches, just go into the very next st,
– *Insert your hook and pull up a loop (2 loops on the hook)
YO and insert your hook into the NEXT ch space (4 loops)
YO and insert your hook into the NEXT ch space (6 loops)
YO and pull through all 6 loops and ch 1
– Now using the ch 1 stitch you just created
SC, DC, SC into that ch 1 space* to complete your second RA st
Repeat this for the row.
To End Row: DC in last st. CH 2 and Turn.
IMPORTANT NOTE
From here on out we’ll be using the ch 1 spaces that’s in the center of the previous row’s stitches. Remember I told you this stitch has a first and second part to it? And the second part is made in the ch 1 space after you’ve completed the first part. We’ll be using the same ch 1 stitch to create our stitches on our next row.
Row 2
Skip over to the first Ch 1 space. In this space you will create your RA stitches.
– *Insert your hook into the ch 1 stitch and pull up a loop (2 loops on the hook)
YO and insert your hook back into the SAME ST ch 1 stitch (4 loops)
YO and insert your hook back into the SAME ST ch 1 stitch (6 loops)
YO and pull through all 6 loops and ch 1
– Now using the ch 1 stitch you just created
SC, DC, SC into that ch 1 space.
Then move over to the next ch 1 space*
Repeat this for the row.
To End Row: DC in last st. CH 2 and Turn.
Ending the Scarf
Repeat row 2 until you’ve reached your desired length. Then you’re ready to end your scarf.
Ch 1 and turn. SC in all your SC and DC’s along the row. SC in ending ch 2. Cut yarn leaving a long enough tail to blend in with fringe if you’re adding it, or get a tapestry needle and hide your tail.
If you need help adding fringe, you can check out this tutorial that will take you step by step on how to do that
This pattern is brought to you by www.meladorascreations.com
You can sell any item made from this pattern and link back to my page or videos, but you do not have permission to copy and paste my pattern anywhere online. ©Copyright 2025, All Rights Reserved
PLEASE READ BELOW!
If you’d like to see my channel stay and grow, please consider becoming a patron.
Or you could make a one time donation through PayPal. Thank you so much for your support! God Bless!