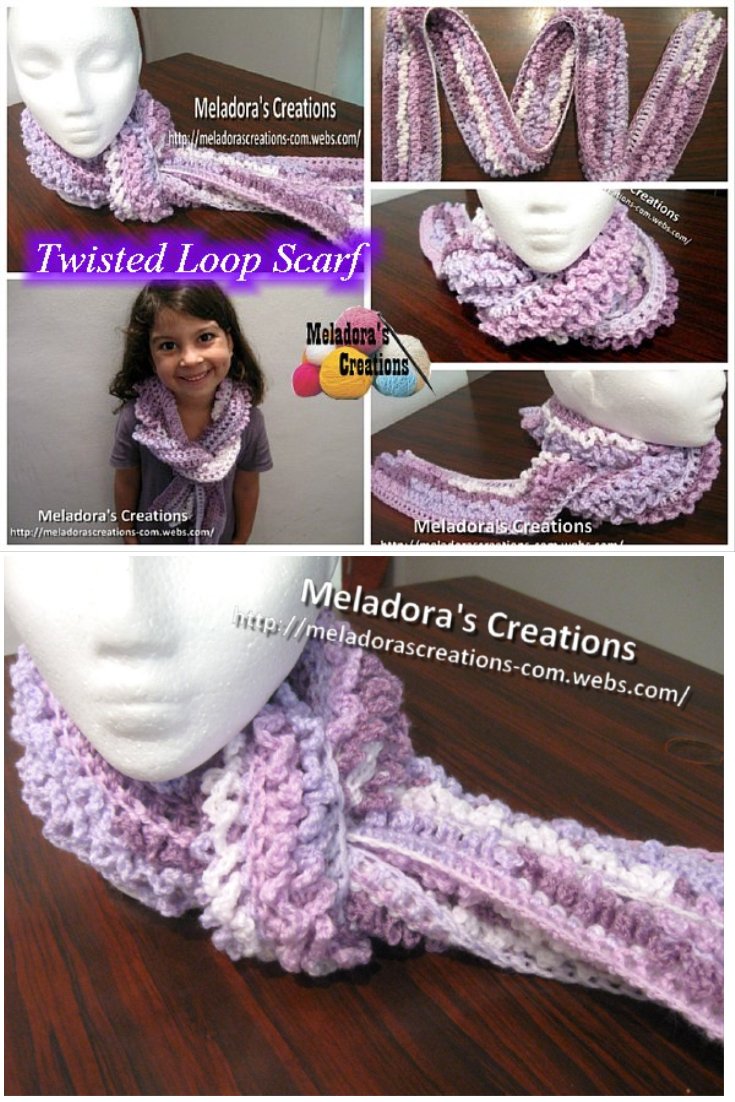
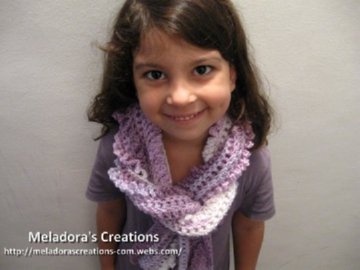
This Textured Crochet Scarf that I call the Twisted Loop Scarf is so squishy and warm! I have found this stitch under another name as well, the Astrakhan Stitch. This Free Crochet pattern teaches you how to do a warm thick crochet scarf for winter using The Twisted loops stitch with variegated yarn. But you could easily change the colors in this scarf to make beautiful combinations of colors!. Why not use up some scrap yarn and make a rainbow scarf?
You can find more scarves under the category SCARVES
When I first learned of this stitch, I told myself that I had to make a rug out of it! So I did and you can find out how I did it here. Loopy Crochet Rug
Twisted Loop Scarf – (Astrakhan Stitch) – Free Crochet Pattern and Video tutorial
Please don’t forget to Pin this onto your favorite crochet boards!
This page contains affiliate links

For this project you will need:
HOOK: 5 mm hook or size H hook for the US
YARN: worsted weight yarn, 4 ply US, 10 ply AU – 100 grams / 3.5. oz – 210 meters / 230 yards
ABBREVIATIONS
(click on link to find tutorials)
ch = Chain
sl st = Slip Stitch
st = Stitch
DC = Double Crochet
Sc dec = single crochet decrease
* = Repeat what’s in between * for rest of row
THE VIDEO TUTORIALS:
All my Video Tutorials
If you haven’t yet, take a moment to subscribe to my videos on YouTube to have easy access to all my videos and playlist @meladora1 on YouTube
PDF Pattern with Pictures
You can find the PDF version of my pattern with pictures on Ravlery . Thank you very much for all you do to support my channel.
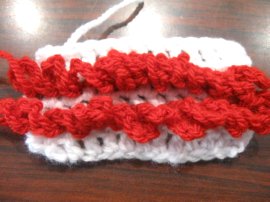
The scarf shown above is 8 cms / 3 inches wide. And done with alternating twisted loops on both sides of scarf.
To Start
ch 150
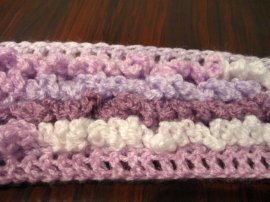
Rows 1 – to desired width (DC rows)
Dc into third ch from hook (the ch 2 will not count as a stitch) *DC in all sts,*ch 1 and turn your work. Pull up to elongate your loop before starting your first DC of row 2 (the ch 1 & elongated loop does not count as a stitch, it’s just a step up.
Row 2
Dc into first stitch of row *DC in all sts,* ch 1 and turn your work. Pull up to elongate your loop before starting row 3
Dc as many rows as you wish until you get your desired width. 4 rows for a skinny scarf if you wanted to make one for a child. Or 6 for a wide adult scarf. This is up to you. It doesn’t matter for the pattern how many rows you do. Just keep it an even number of rows. The first and last row of DC’s will not be worked, to leave you a nice boarder on the scarf.
When your ready ch one and cut your yarn, now we will be doing the twisted loop stitch. You can change colors now to make your ruffles stick out more, or if your using variegated yarn, then you could use the same color. It’s up to you. If your making the scarf for a child and you want to make a thicker scarf then I recommend only doing 6 rows and doing the twisted loop stitch on two rows of each side that that it’s not to heavy for the child. Recommend to stick to 4 rows for a child though.
Row 1 of Twisted loop stitch
Skipping first row of DC’s to leave yourself a border on this side of scarf. Go into the 2nd row of dc’s. Start by slip stitching onto the second dc post of the row and ch 7, sl st onto the post of the following DC.* Ch 7 again and sl st onto the following post of the next DC* and repeat until last DC of the row, this last DC of the row will not be worked either. When you get to the end of the row ch 1 and cut your yarn, leave a tail to be worked in later.

Repeat row 1 until you have all of your rows completed except for the first and last rows. Leaving a border.
When you’re finished with one side and you’re ready to do the back side you will work the twisted stitch as follows.
To do the rows in between, you want to attach your yarn as you did before, only this time you will be working above the sl st connections you made from the other side.

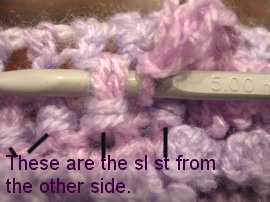
Repeat until you have the rows desired completed on this side.
Now you might have noticed that the chain part of your scarf is tighter than the DC side. To even this up, attach your yarn on the looser DC side and
*sc 1, sc dec,* repeat for the row. Cut yarn leaving a tail long enough to be worked in with a tapestry needle.
Other color options:


Or alternate the colors on the base row and then alternate the color of the ruffles. The back looks cool as well, so you don’t have to so ruffles on one side if you don’t want to 🙂
Change colors every row if you like! Skies the limit!
This pattern is brought to you by www.meladorascreations.com
You can sell any item made from this pattern and link back to my page or videos, but you do not have permission to copy and paste my pattern anywhere online. ©Copyright 2024, All Rights Reserved
PLEASE READ BELOW!
If you’d like to see my channel stay and grow, please consider becoming a patron.
Or you could make a one time donation through PayPal. Thank you so much for your support! God Bless!
https://paypal.me/MeladorasCreations or try: