
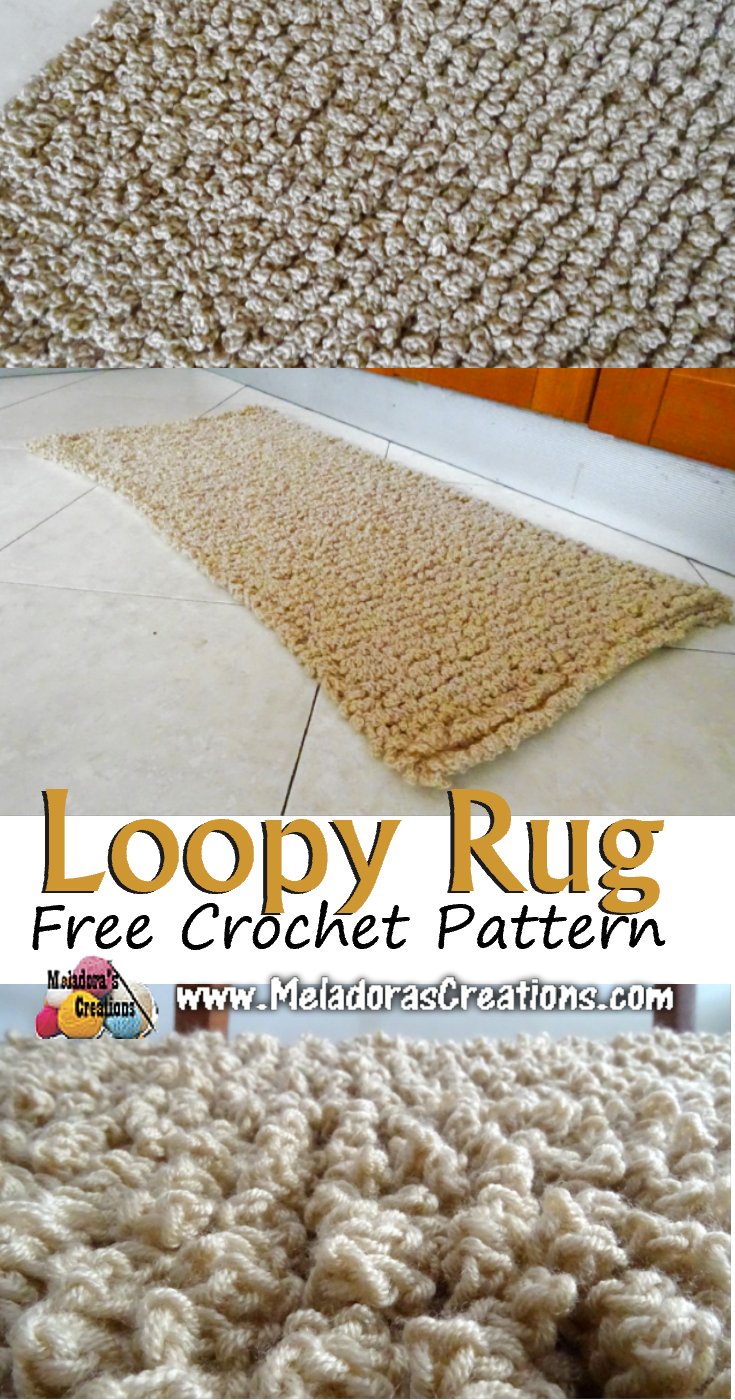
This Crochet Rectangle Rug or Loopy Crochet Rug crochet pattern shows you how to do the Twisted loop crochet stitch to make this fluffy soft Loopy Rug. See below for links to plastic and thread used in sewing.
Find more crochet stitches here on the category For The Home
Loopy Crochet Rug – Free Crochet Pattern
Please don’t forget to Pin this onto your favorite crochet boards!
This page contains affiliate links
PDF Pattern with Pictures
You can find the PDF version of my pattern with pictures on Ravlery or Etsy. Thank you very much for all you do to support my channel.
ABBREVIATIONS
(click on link to find tutorials)
ch = Chain
sl st = Slip Stitch
st = Stitch
sk a st = Skip a stitch
DC = Double Crochet
DCFS = Double Crochet Foundation Stitch
* = Repeat what’s in between * for rest of round.
For this project you’ll need:
HOOK: 5 mm hook or size H hook for the US
YARN: medium 4 worsted weight yarn \ Aran 10 ply
- Rubber mat to sewn onto.
- Plastic Thread / or you can use the same yarn you used to make the rug.
- Tapestry needle and scissors
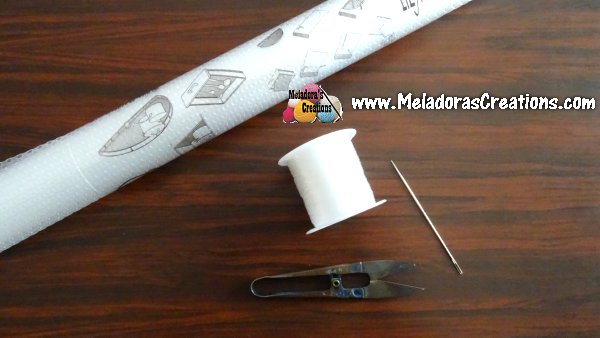
I was able to find the rubber like roll and the plastic like thread at the craft store.
It looks like the rubber mat was meant to be used in drawers or to be a water proof bottom of a rack.
I liked it because it has a good non slick surface.
It grips.
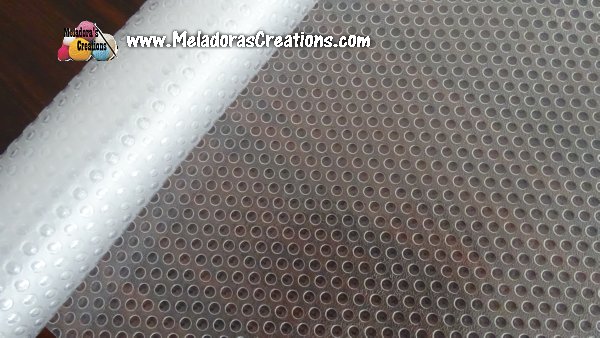
And still soft and thin enough to get a tapestry needle through it.
The thread should be easy to find. Here’s a closer look.
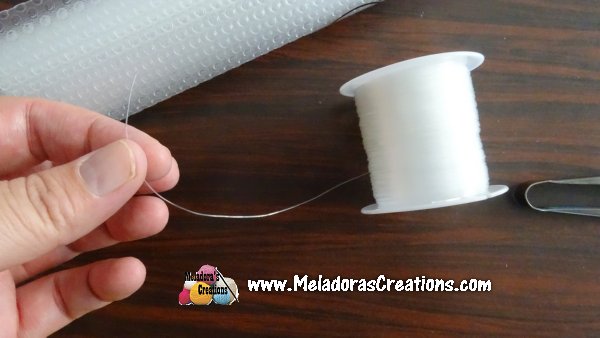
It’s just thin and plastic like. I used it because it’s strong and water proof.
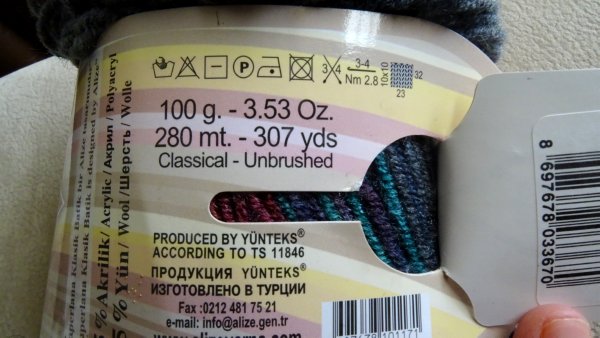
The yarn I used for the Variegated yarn is Alize batik color 4276 lot 890330
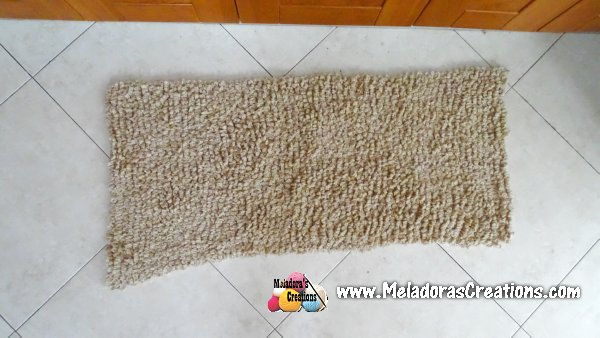
I used 2 skeins of yarn to make the smaller one, and 5 skeins to make the second longer rug. Both rugs I began the same.
THE VIDEO TUTORIALS:
All my Video Tutorials
If you haven’t yet, take a moment to subscribe to my videos on YouTube to have easy access to all my videos and playlist @meladora1 on YouTube
Row 1
Crochet 55 DCFS’s. Ch 7 and turn
Row 2
Sl st onto the post of the 2nd DC of row. * Ch 7, sl st on the post of the next DC *
Row 3
CH 3 and turn, the ch 3 does count as the 1st st. Dc in 2nd st of row. *DC 1 in each DC’s from row 1. (Never dc on the ch 7’s. ) when you reach the end of your row. CH 7 (be sure to count your stitches after this row)
Repeat rows 2 & 3
Okay, what I wanted to say before is….I made sure to count my stitches after each DC row but I think the simple fact that you sl st your ch 7 on the 2nd st of row that causes it to pull slightly in the corners.
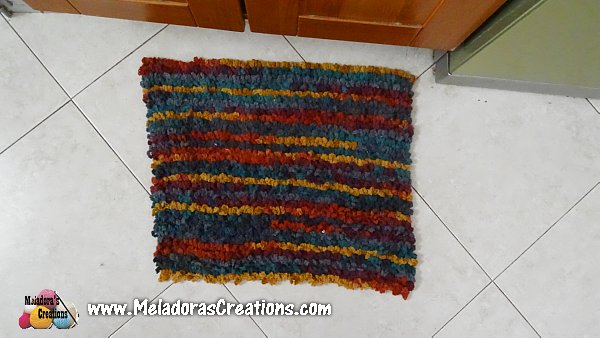
I made 2 sizes and on both of them they had it pull in the corners a bit. Both rugs I began with 55 double crochet foundation stitches.
But the rug is so beautiful and soft, that I didn’t let that bother me. I just did my best to make sure it was straight as I added the bottom rubber to the rug.
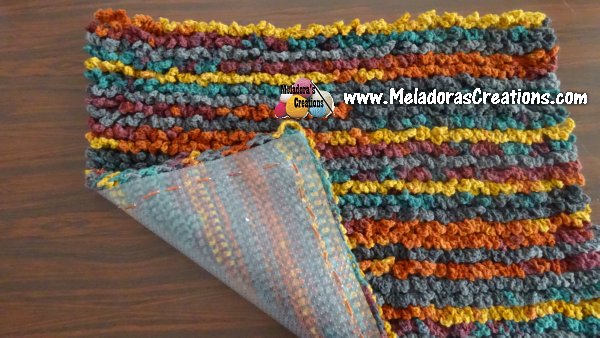
The first one I made was the smaller variegated one.
I rolled out my rubber mat and laid the rug on top.
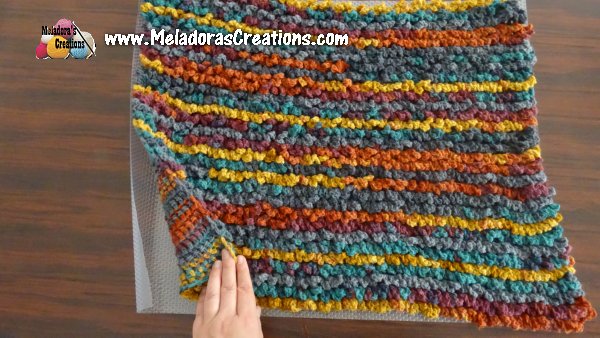
You don’t want the rubber mat to show so you have to cut it a bit smaller than the rug.
You also want to start sewing in about a half in into the rubber mat. Be sure your lines are flat across as you sewn. Will help it to remain straight.

To secure your yarn to start, just come up through the bottom and back out a few centimeters away. Then tie a knot.
This pattern is brought to you by www.meladorascreations.com
You can sell any item made from this pattern and link back to my page or videos, but you do not have permission to copy and paste my pattern anywhere online. ©Copyright 2023, All Rights Reserved
PLEASE READ BELOW!
If you’d like to see my channel stay and grow, please consider becoming a patron.
Or you could make a one time donation through PayPal. Thank you so much for your support! God Bless!