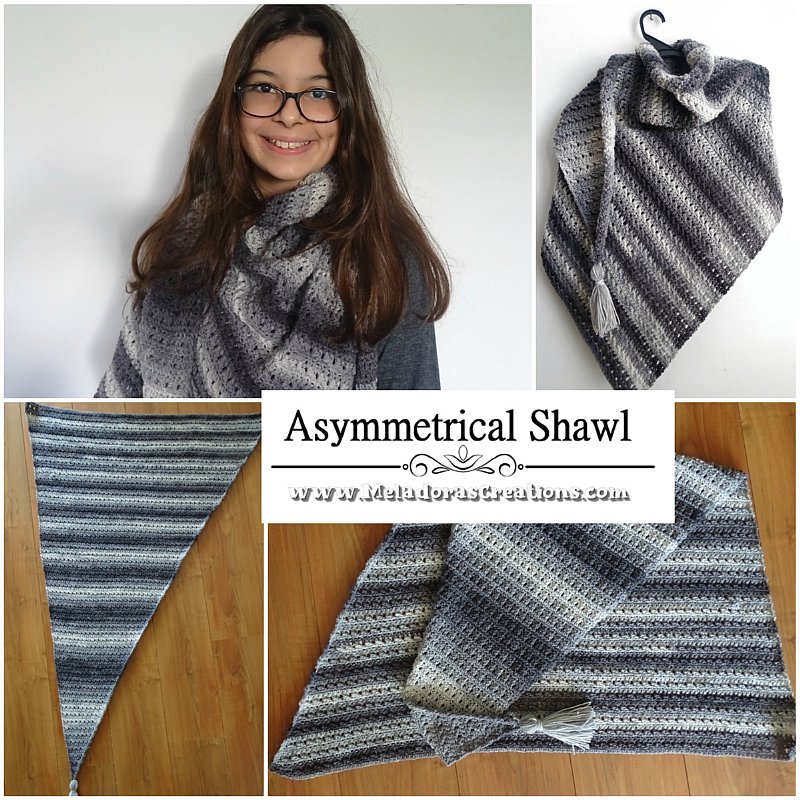
Trying out my hand at designing a Asymmetrical shawl crochet pattern was fun to say the least! To get to see it grow every row was actually quite satisfying!
This is a super easy 2 row repeat and looks great on both sides! It doesn’t get better than this, does it?
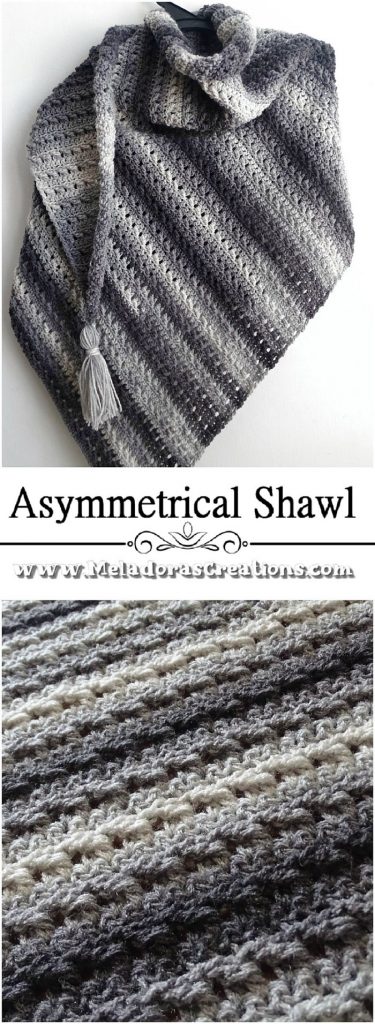
Me and my husband actually like the way the back of the stitch looks better than the front side of the stitch. Which for us makes this a double sided shawl!
I’ll let you decide.
Find more crochet patterns here on the category Shawls
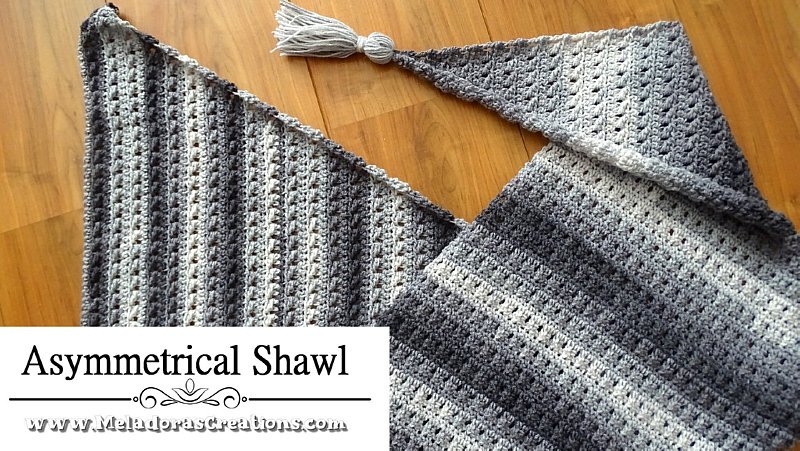
Asymmetrical Shawl – Free Crochet Pattern
Please don’t forget to Pin this onto your favorite crochet boards!
This page contains affiliate links
This shawl measures
- Wide ← → = 31 inches or 130 cms
- Tall = 36 inches or 91 cms
I stopped at this size but feel free to keep going with the repeat and make it as big as you like!
The Gauge
2 sts per cm or 5 sts per Inch
For this project you will need:
- HOOK: 4 mm hook or size G hook for the US
- YARN: 3 skeins of ply 3 yarn ply US, 8 ply AU
Each skein is:
- 100 grams / 3.53 oz
- 280 meters / 307 yards
I’ve had this yarn in my stock for a long time so I don’t know if you can find the same one as I used but the company still sells yarn similar with the same ply in variegated. Check some of these out.
Alize Diva Batik or Alize Superlana Zincit Yarn
ABBREVIATIONS
(click on link to find tutorials)
ch = Chain
sl st = Slip Stitch
st = Stitch
sk = Skip
beg = beginning
YO = Yarn Over
FPDC = Front Post Double Crochet
SC = Single Crochet
DC = Double Crochet
FLO = Front loop only
CS = Cross Stitch
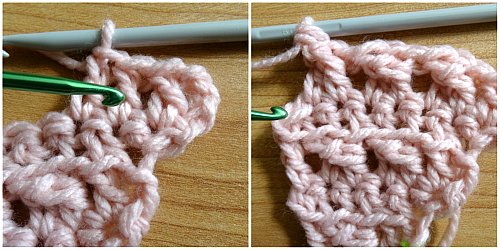
How to do the Cross Stitch.
Do do a Cross stitch you need 2 DC’s to create. We’ll using the 1st DC of these two DC’s so we’re backing up,
YO and grabbing the post of the previous DC and DC on to post of it. This is our first FPDC. This is how you will create them for the rest of the shawl.
Repeat what’s in between | for # amount of times.
Repeat what’s in between * for rest of round.
THE VIDEO TUTORIALS:
All my Video Tutorials
If you haven’t yet, take a moment to subscribe to my videos on YouTube to have easy access to all my videos and playlist @meladora1 on YouTube

PDF Pattern with Pictures
You can find the PDF version of my pattern with pictures on Ravlery Or my shop on Etsy. Thank you very much for all you do to support my channel.
Row 1
Ch 7 and DC in the 4th ch from the hook. This will create your first “Increase area” . (Place Marker Here at end of row)
Continue and DC 1 in the next 2 sts. We’ll using the 1st DC of these two DC’s so we’re backing up, YO and grabbing the post of the previous DC and DC on to post of it.
This is our first Cross Stitch. This is how you will create them for the rest of the shawl.
To End: DC in the last st of the row. Ch 1 and turn
Row 2
SC using the FLO in the first 3 sts of the row,
skip 1 st and SC in the next
SC 2 in ending ch 3
6 sts this row. CH 3 and turn.
Row 3
DC in same st as ch 2. This is your increase again.
DC in next 2 sts, then Cross Stitch on the post of the previous DC.
DC in next 2 sts, then Cross Stitch on the post of the previous DC.
To End: DC in last St. Ch 1 and Turn.
You should have 2 FPDC cross area’s now. You’ll be adding 1 more to the row with every repeat of this row.
Row 4
SC using the FLO in the first 3 sts of the row. skip 1 st .
SC in the FLO of the next 3 sts, skip 1 st.
SC 2 in ending ch 3
8 sts this row. CH 3 and turn.
Row 5
DC in same st as ch 2. This is your increase again.
*DC in next 2 sts, then Cross Stitch using the post of the previous DC. *
repeat for row.
To End: DC in last St. Ch 1 and Turn.
You should have 3 FPDC cross area’s now. You’ll be adding 1 more to the row with every repeat of this row.
Row 6
SC using the FLO in the first 3 sts of the row. skip 1 st .
SC in the FLO of the next 2 sts, skip 1 st.
SC 2 in ending ch 3
10 sts this row. CH 3 and turn.
Repeat rows 5 and 6
I hope by now you’ve gotten the pattern down. Be sure to share pictures if you make one of these or message to me to ask if you have any questions. For now keep repeat the two rows until you reach your desired size.
I used 3 skeins for the shawl. Use the last skein to create the tassel in advanced before connecting the last skein to the shawl.
I finished my shawl after a single crochet row and I had 120 sts.
This pattern is brought to you by www.meladorascreations.com
You can sell any item made from this pattern and link back to my page or videos, but you do not have permission to copy and paste my pattern anywhere online. ©Copyright 2021, All Rights Reserved
PLEASE READ BELOW!
If you’d like to see my channel stay and grow, please consider becoming a patron.
Or you could make a one time donation through PayPal. Thank you so much for your support! God Bless!