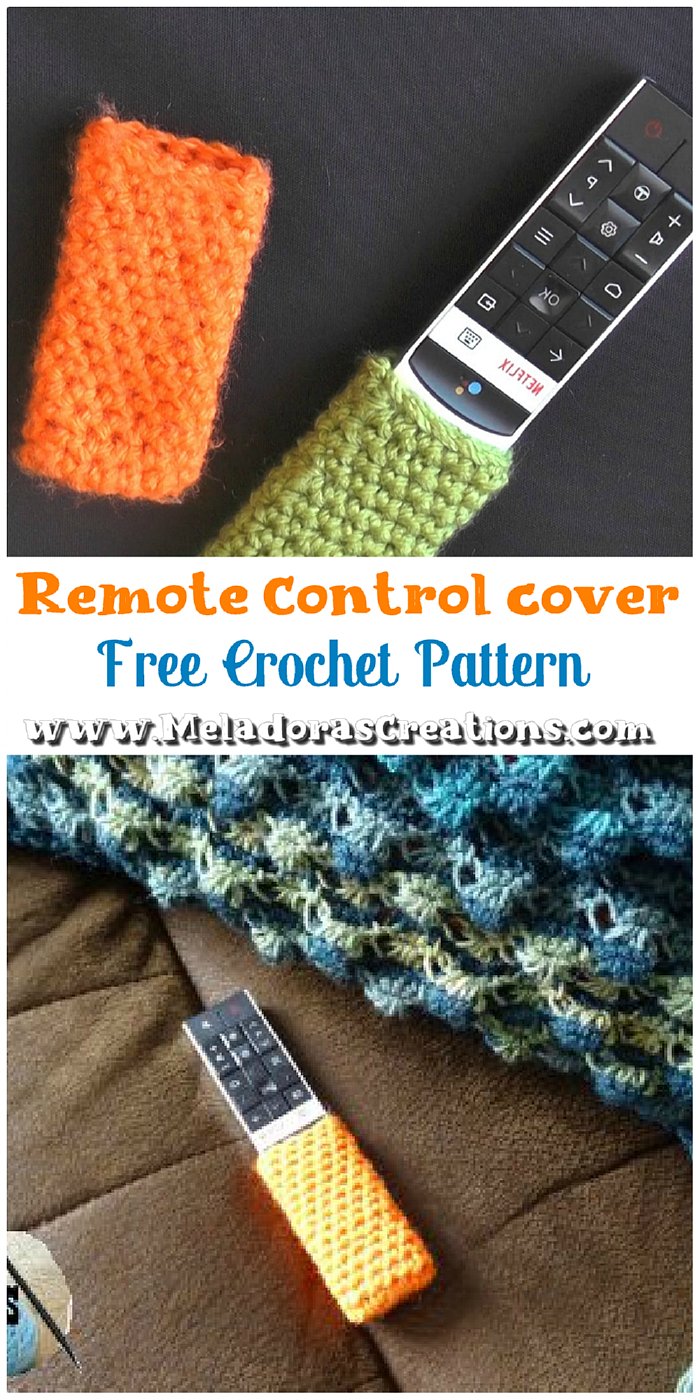
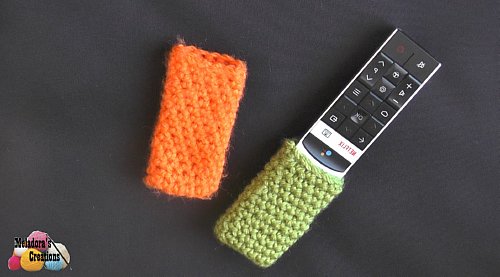
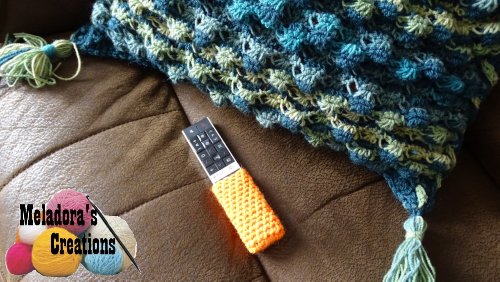
We have a metal remote control that gets freezing in the winter time, so I decided to Crochet a Remote Control Cover for it. Hubby thought others may want to learn how to make it so here it is. I sure hope it helps you learn this cool technique.
You can use this technique to make bags and purses as well
I hope you enjoy this one, Happy Crocheting!
You can find all the link blast for this category here or find all my Round ups here.
Crochet Remote Control Cover – Free Crochet Pattern and Tutorial
Please don’t forget to Pin this onto your favorite crochet boards!
This page contains affiliate links
For this project you will need:
- HOOK: 3mm hook or size c hook for the US
- YARN: small amount of worsted weight yarn, 4 ply US, 10 ply AU
- Stitch Marker – this can be a piece of yarn of another color.
ABBREVIATIONS
(click on link to find tutorials)
ch = Chain
sl st = Slip Stitch
st = Stitch
sk = Skip
dec = decrease
beg = beginning
YO = Yarn Over
SC = Single Crochet
Repeat what’s in between * for rest of round.
THE VIDEO TUTORIALS:
All my Video Tutorials
If you haven’t yet, take a moment to subscribe to my videos on YouTube to have easy access to all my videos and playlist @meladora1 on YouTube
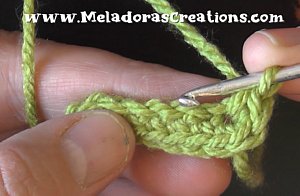
To start
Ch 8 – add more if needed. You just need to be able to cover the front of the remote without going over the sides of the remote. Reason for this is to make the remote pocket tight so it will stretch and grab the remote later so it won’t slip off so easy.
Acrylic yarn is great at stretching so I recommend this one for that reason.
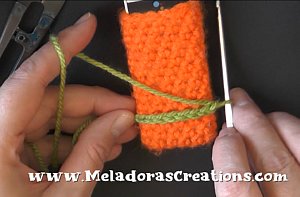
Round 1
sc in the 2nd ch from your hook. Crochet down your chain. Put 3 sc’s in the very last stitch of your row. Then pivot your work. We’ll be working on the bottom of our ch now.
Continue down your ch and sc in the next 5 sts. Sc 2 in the end st. 16 sts total
Place a marker here because we’ll be crocheting in one continuous round
Rounds 2
sc in all sts around. When your piece gets big enough, turn it out where the front side of your work is out front and showing. Re position your marker so you can see it better.
Rounds 3 – ?
sc in all sts around. If it starts to feel like it’s getting to big and loose, add a few sc decreases on the sides to shrink your pocket more.
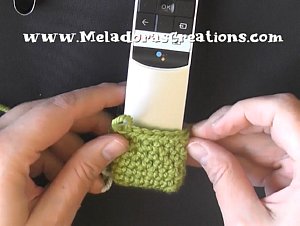
Once you reach desired length. Do a round of slip stitches to make a nice polished finish. Hide your tails using a tapestry needle.
This pattern link blast is brought to you by www.meladorascreations.com
©Copyright 2024, All Rights Reserved
PLEASE READ BELOW!
If you’d like to see my channel stay and grow, please consider becoming a patron.
Or you could make a one time donation through PayPal. Thank you so much for your support! God Bless!