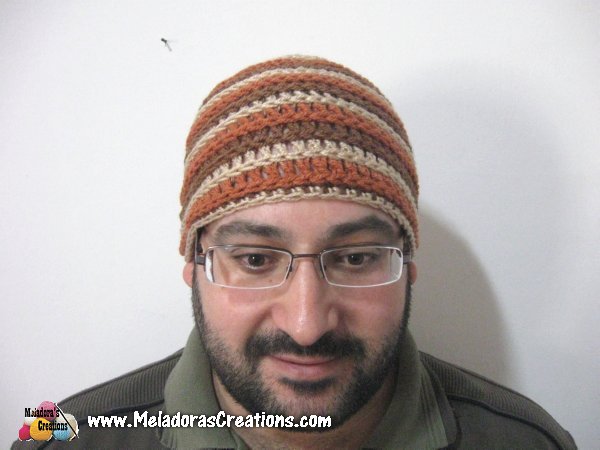
This Crochet Textured Beanie I’m calling the Ripple Wave Crochet Beanie pattern will teach you how to use the third loop which is a game changer when if you love texture in crochet like I do. This tutorial will take you step by step on how to make this beautiful video in all sizes. I made one for my husband and my 2 year old son.
Find more Beanie patterns here Crochet Beanies
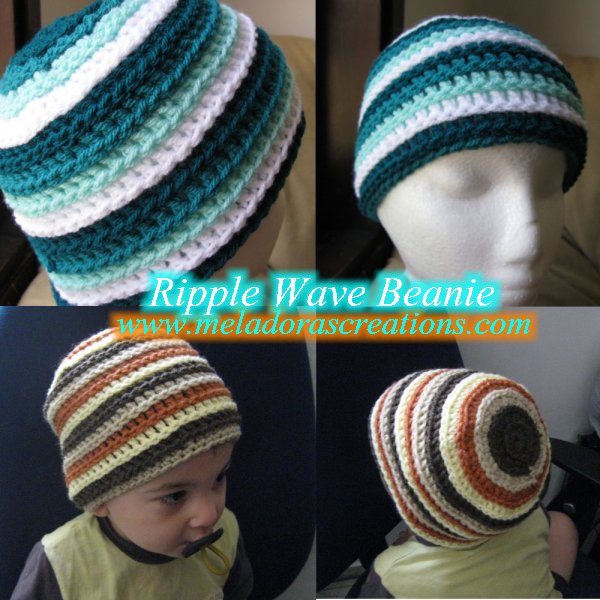
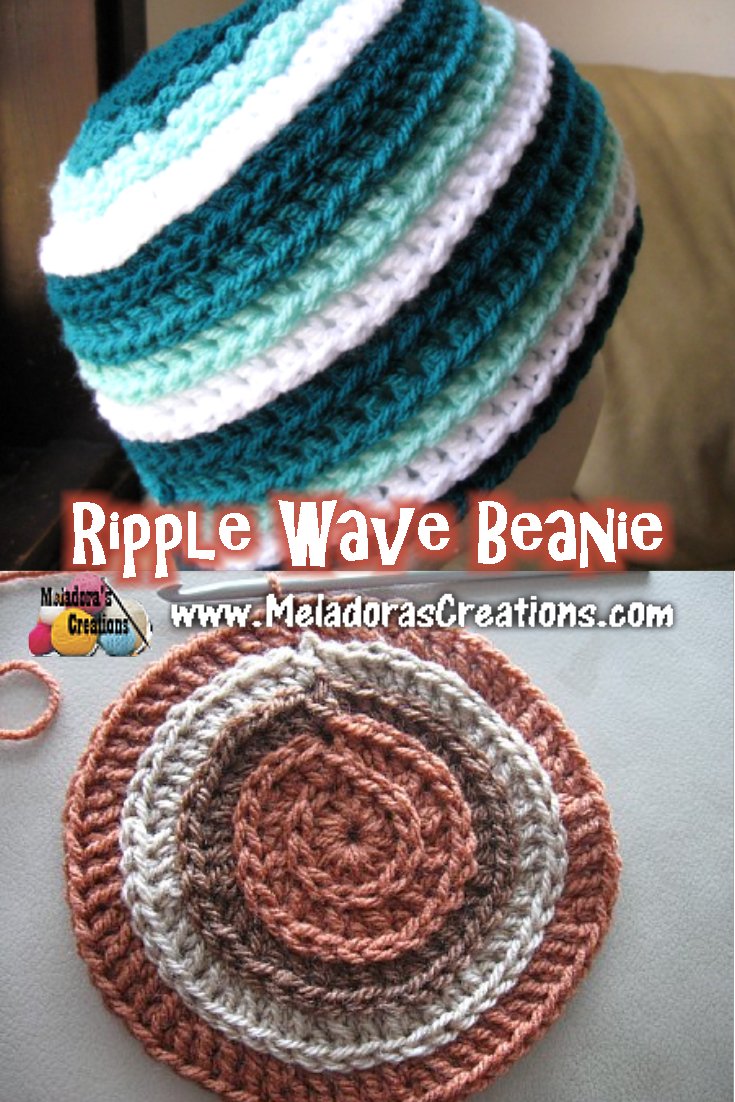
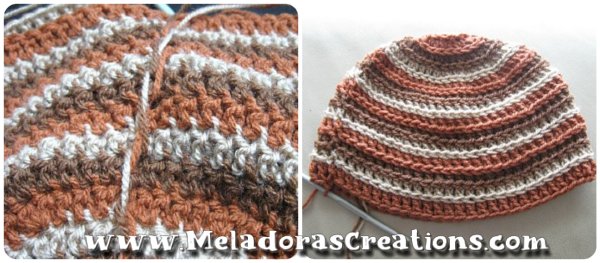
Ripple Wave Beanie – Crochet Textured Beanie – Free Crochet Pattern and Video tutorial
Please don’t forget to Pin this onto your favorite crochet boards!
This page contains affiliate links
For this project you will need:
- HOOK: 5 mm hook or size H hook for the US
- YARN: 3 skeins of worsted weight yarn, 4 ply US, 10 ply AU in 3 or 4 different colors. You don’t need but less than half a skein per color. This pattern will be showing you using 3 colors.
100 grams / 3.5. oz
240 meters / 262 yards
ABBREVIATIONS
(click on link to find tutorials)
ch = Chain
sl st = Slip Stitch
st(s) = Stitch(es)
sk = Skip
YO = Yarn Over
SC = Single Crochet
Sc dec = single crochet decrease
bsdc = Back stitch Double Crochet or Third Loop
DC = Double Crochet
* = Repeat what is in between the stars for the rest of the row
THE VIDEO TUTORIALS:
All my Video Tutorials
If you haven’t yet, take a moment to subscribe to my videos on YouTube to have easy access to all my videos and playlist @meladora1 on YouTube
SIZES: Fits 3 years old to adults!
To Start: 1st color, try to use the darkest color here
Ch 3 and sl st into beginning ring to form a ring
Round 1 – using same color 1st color
sc and ch 1, (this will count as your first dc) dc 11 into ring (12 sts)
Round 2 – 1st color (for this round and rest, we will be using the back sts)
sc and ch 1, dc into same back st, dc 2 all back sts around (24 sts)
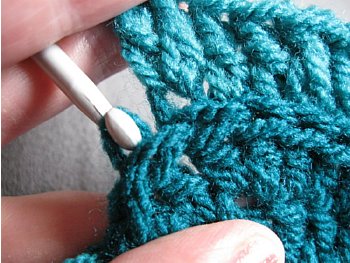
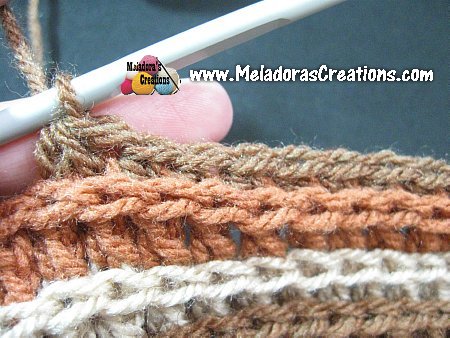
This picture the stitch I am working in, this picture shows the stitch brought up. The hook is pulling up the loop that is just behind the top of the stitch. This is the back stitch I am talking about.
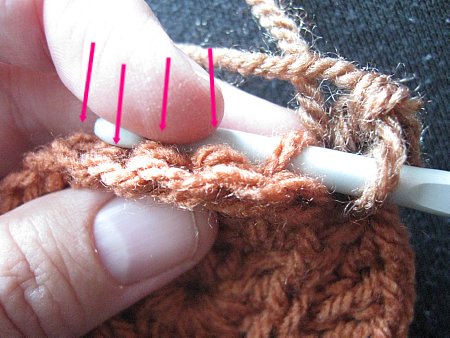
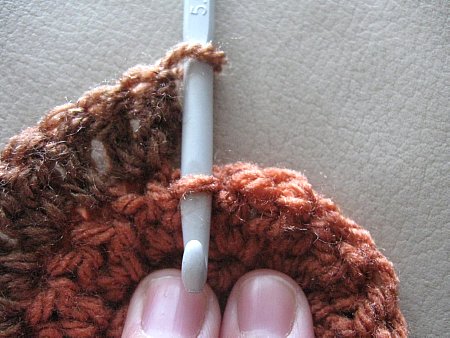
The above picture shows the stitch used from the back of your work.
Round 3 – 2nd color
sc and ch 1, dc 2 into next back space, dc 1 into next back space, (dc 1, dc 2 ) repeat for round (36 sts)
Round 4 – 3rd color
sc and ch 1, dc 1 into next back stitch, dc 2 into next back stitch ( dc1, dc 1, dc 2 ) repeat for round (48 sts)

Round 5 – 1st color
sc and ch 1, dc 1 into next back stitch, dc 1 into next back stitch, dc 2 into next back stitch ( dc1, dc1, dc 1, dc 2 ) repeat for round (60 sts)
BELOW SHOWS YOU HOW TO DO THE NEXT SET OF COLOR CHANGES
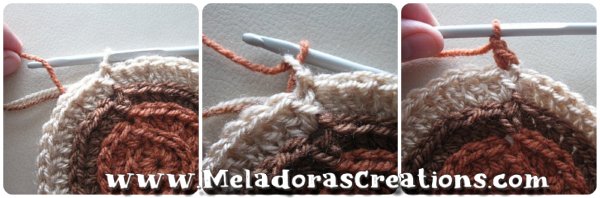
Rounds 6 – 14 ( 9 rounds )
Starting the 6th row using the 2nd color and continue to change colors every row, keep the same color pattern.
Dc 1 in all back sts around (60 sts)
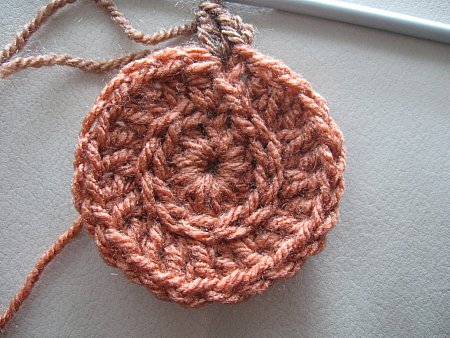
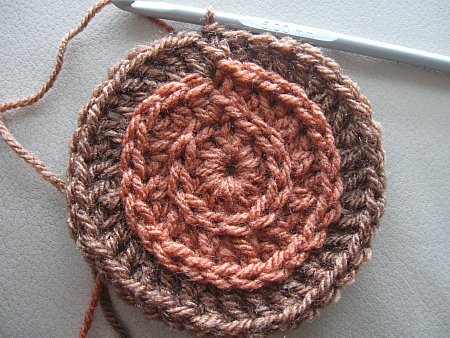
The above picture shows you how the inside color changes look like.
Round 15 – 1st color
sc 8, sc dec (working in back sts here too) , sc 10 sc dec, repeat for rest of round end with 52 sts ( 52 sts )

Round 16 – 2nd color
sc in all sts around NOT using the back stitch this time, but the actual stitch. So do this last row as normal single crochets (52 sts)
This pattern is brought to you by www.meladorascreations.com
You can sell any item made from this pattern and link back to my page or videos, but you do not have permission to copy and paste my pattern anywhere online. ©Copyright 2024, All Rights Reserved
PLEASE READ BELOW!
If you’d like to see my channel stay and grow, please consider becoming a patron.
Or you could make a one time donation through PayPal. Thank you so much for your support! God Bless!
Or you could make a one time donation through PayPal. Thank you so much for your support! God Bless!