This Slouchy Crochet Beanie uses simple crochet stitches and the style would look great for both men and women. I just love the start burst coming from the top of the hat! I made a pair of finger less gloves that also has the sun burst pattern, so why not make the whole set?
You can find more things like this under the category Bags and Purses
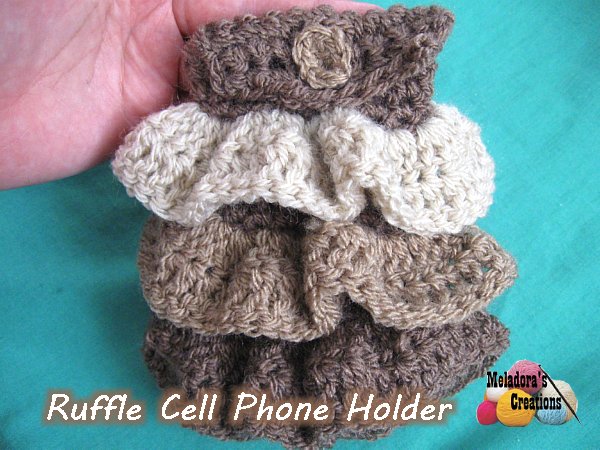
This cell phone holder was made to go in the Ruffle Bag in this pattern
Ruffle Cell phone holder – Free Crochet Pattern and Video tutorial
Please don’t forget to Pin this onto your favorite crochet boards!
This page contains affiliate links
For this Project you will need:
- HOOK: a 5.5mm hook or I hook , 3.5mm hook or size E hook to make the button.
- YARN: Worsted weight yarn 10 ply UK, 4ply US. If you made the ruffle bag and this is to match, use same 3 colors the same way here as you did the bag. You will also need a tapestry needle to sew on button. Also you will need a stitch marker of some kind.
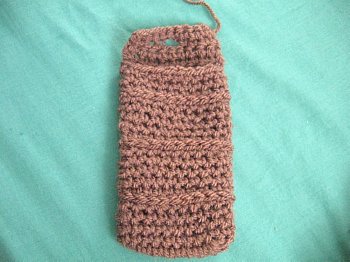
NOTE: The color of this cell phone holder is a bit different, cause I used the darker color for the case and lower ruffle, only because I was running low on medium brown. It’s still preferred that you use medium color to make the case. Like you did your purse, if you made the purse that is. If your just making the cellphone holder, make it however you like.
ABBREVIATIONS
(click on link to find tutorials)
ch = Chain
sl st = Slip Stitch
st = Stitch
SC = Single Crochet
THE VIDEO TUTORIAL
All my Video Tutorials
If you haven’t yet, take a moment to subscribe to my videos on YouTube to have easy access to all my videos and playlist @meladora1 on YouTube
PDF Pattern with Pictures
You can buy the ad free PDF version of my pattern with pictures on Ravelry or Etsy to support this channel. Either way thank you for being here and for all you do to support my channel.
Round 1
ch 11, sc in 2nd ch from hook. Pivot and sc in bottom sts (20 sts total)
Rounds 2 – 5
sl st into beginning st, ch 1 and sc into same st and in all sts around (20 sts )
Round 6
sl st in all sts around (20 sts )
Round 7
sc in all the sts behind the slip sts (20 sts )
Rounds 8 – 11
sc into first st and place marker here, from now on we will be working in one continuous round, sc sts around (20 sts )
Round 12
sl st in all sts around (20 sts )
Round 13
sc in all the sts behind the slip sts (20 sts )
Rounds 14 – 17
sc in all sts around (20 sts )
Rounds 18 – 23
Repeat rounds 12 – 17
Note:
You want to count 10 sts, making sure they are centered on one side. You don’t want it off centered.
Stop on round 23 not at your stitch marker, but on a side stitch so you can make the flap to close the cellphone holder.
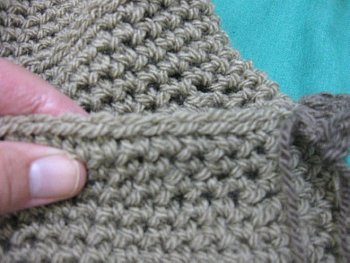
Rounds 24 – 27
Sc in 10 sts, ch 1 and turn
Row 28 (making the button hole)
sc 1 in first 4 sts, ch 2, skip 2 sts, sc 1 in last 4 sts, ch 1 and turn
Row 29
sc 1 in first 4 sts, sc 2 into the ch 2 space from last round. Sc 1 in last 4 sts,
ch 1 cut yarn
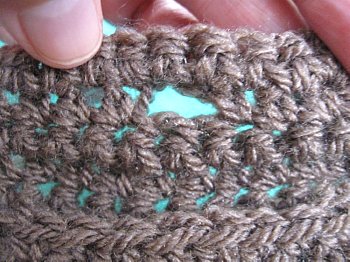
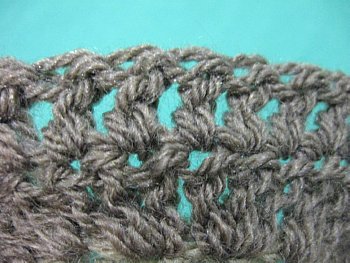
Making the Ruffles
To make the slip stitches easier to work in, it helps if you fold the holder, it will make the slip stitches pop up as show in picture below.
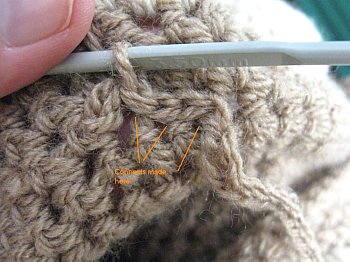
Round 1
sl st to attach the color of yarn you wish and ch 3, (ch 3 counts as first dc)
dc 2 into same stitch. Dc 3 into each st around. Sl st to join

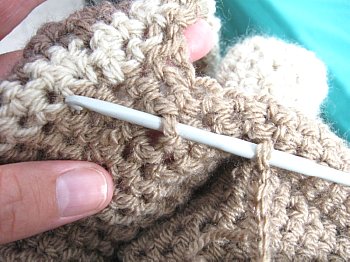
Round 2
ch 3 (ch 3 counts as first dc) dc 1 in next st and in each st around for three rounds.
If you use three colors, do darkest color at bottom, medium color (color of the bag) on middle and lightest color on top as show below.
Change to 3.5 mm hook or E hook
Button: ch 3 sl in beginning ch, SC 8, leave a tail for sewing.


Use your tapestry needle and sew around your button on going around the center only, leaving the outside flaps not sewn. So they can be used to catch the button hole as shown below.
Note: If your making this to be attached to the bag, I suggest you wait until after you have the lining to attach it to the bag.
Once your ready, and sl st to attach it to the holder, ch 30 with your 3.5mm hook or E hook using the same color you made your bag from and without tightening your loop, cut a long tail to use for attaching to bag.
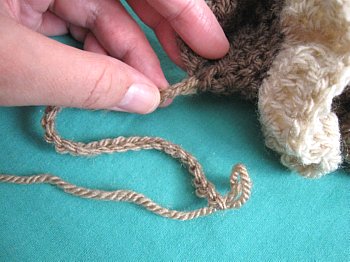
Find a stitch to attach it to under the handle toward back of the bag and start to sl st, do this at least 2 more times working to the left. Then make a few good knots to secure it.
This pattern is brought to you by www.meladorascreations.com
You can sell any item made from this pattern and link back to my page or videos, but you do not have permission to copy and paste my pattern anywhere online. ©Copyright 2024, All Rights Reserved
PLEASE READ BELOW!
If you’d like to see my channel stay and grow, please consider becoming a patron.
Or you could make a one time donation through PayPal. Thank you so much for your support! God Bless!