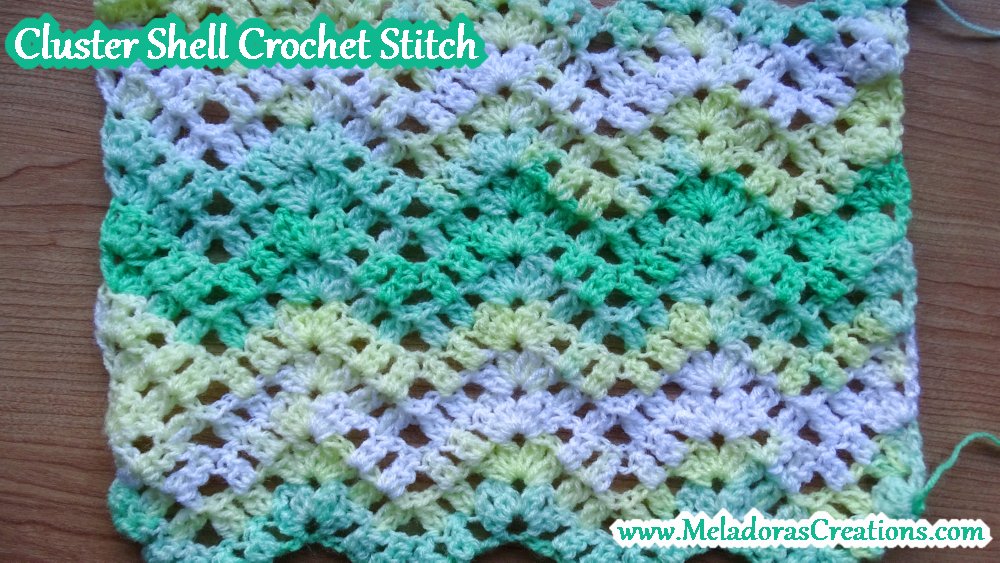
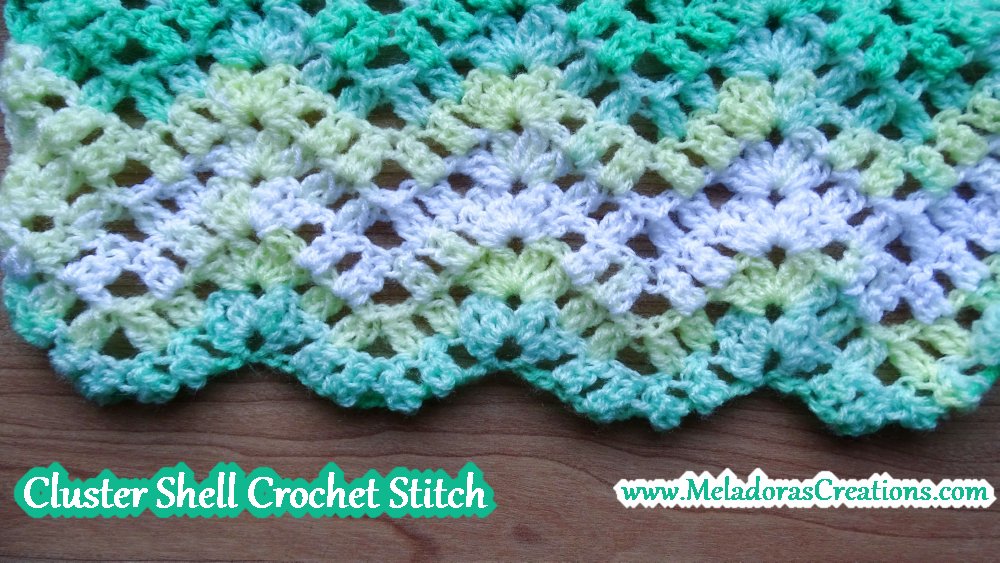
There is something magical about combining the classic elegance of a shell stitch with the rich, touchable texture of crochet cluster stitches. Meet the Cluster Shell Crochet Stitch! Instead of flat, simple chains, this pattern uses bouncy clusters to build raised, petal-like shells that pop right off your hook. Whether you are designing a cozy winter blanket or an elegant textured scarf, this reversible stitch adds a gorgeous dimension that your fellow makers will absolutely love.
You can find more things like this under the category Crochet Stitches
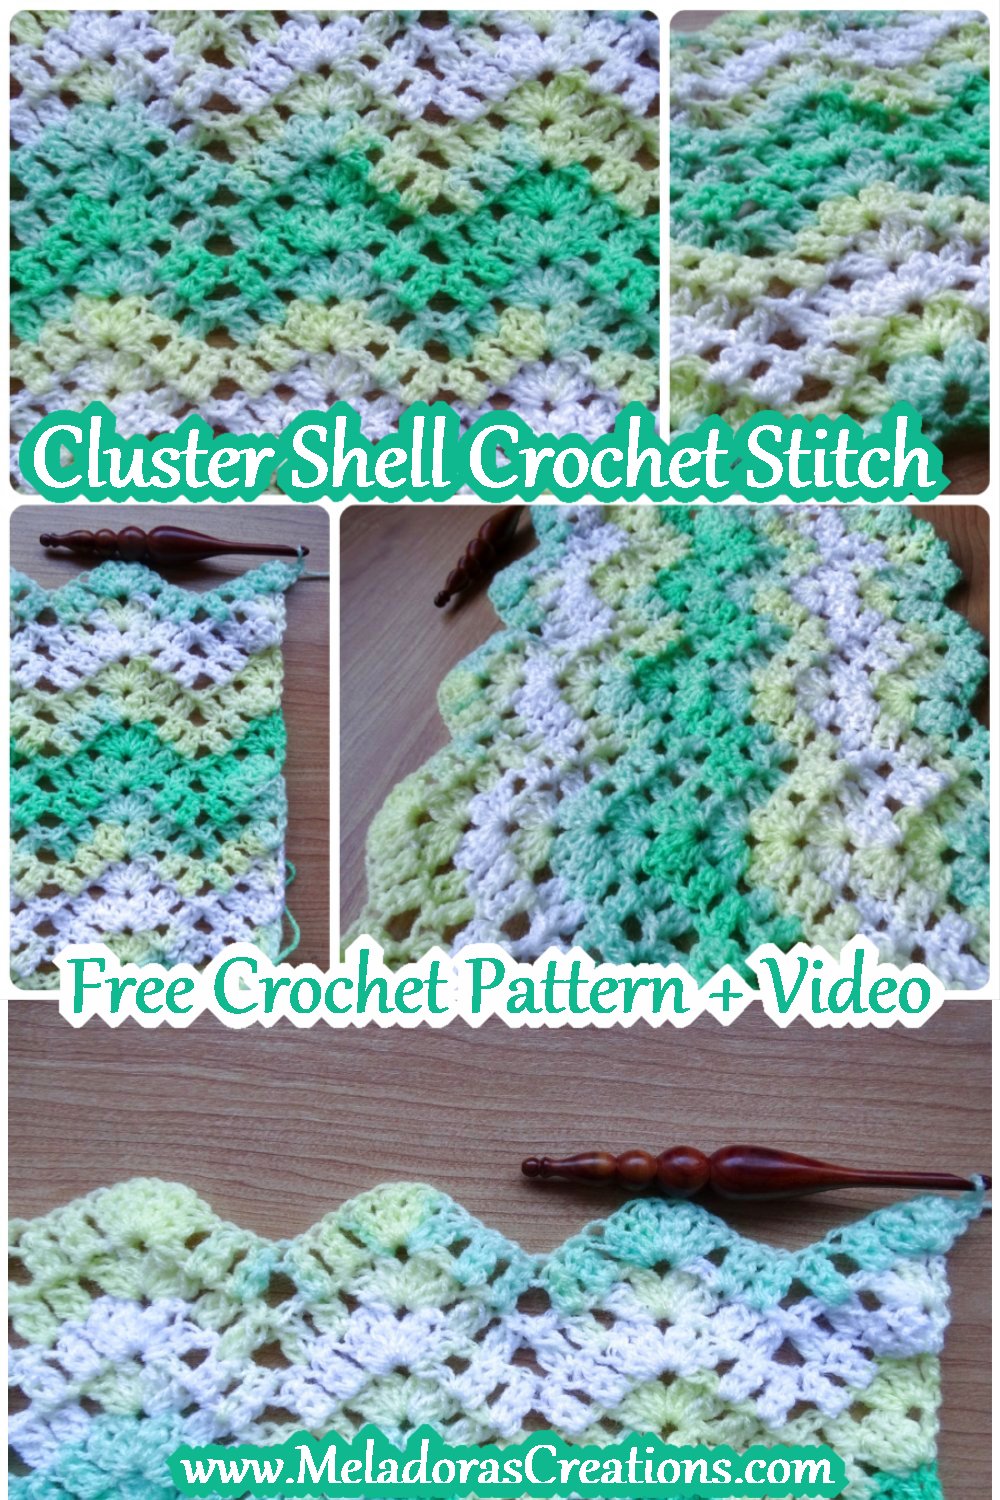
Cluster Shell Crochet Stitch – Free Crochet Pattern and Video Tutorial +Chart
Please don’t forget to Pin this onto your favorite crochet boards!
This page contains affiliate links
For this project you will need:
HOOK: Any size but I used 5 mm hook or size H hook for the US
YARN: Any size but I used worsted weight yarn, 4 ply US, 10 ply AU
Gauge
4 sts = 1 inch / 2.5 cms
I also did a pattern and Tutorial on Chart 052 if you’re interested
Alluring Clusters Crochet Stitch
Chart pattern 052
ABBREVIATIONS
(click on link to find tutorials)
ch = Chain
sk 2 sts = Skip two stitches
DC = Double Crochet
YO = Yarn Over
DCC = Double Crochet Cluster – YO and insert your hook into the stitch. Pull up a loop. YO and pull through only 2 of the loops, leaving your last loop still on the hook. YO and insert your hook into the same stitch, Pull up a loop. YO and pull through only 2 of the loops, leaving your last loop still on the hook. 3 LOOPS on the hook. YO and Pull through all 3 loops.
| (text) | means repeat what’s in between for a set number of times listed.
Repeat what’s in between the *’s for rest of round.
THE VIDEO TUTORIALS:
All my Video Tutorials
If you haven’t yet, take a moment to subscribe to my videos on YouTube to have easy access to all my videos and playlist @meladora1 on YouTube
PDF Pattern with Pictures
You can buy the ad free PDF version of my pattern with pictures AD FREE on Ravelry to support my business. Whatever you do to support my little space in the internet thank you!
To Start / Multiples of this stitch
The Multiples of this stitch is 15 + 20, what that means is you’ll chain in sets of 15 until you reach your desired width.
Keep in mind that this stitch is a ripple so it will reduce in size a bit once you start crocheting it, so if you’re using it to make a blanket then you’ll need to adjust the width a bit wider than you need. Then chain + 20 more. The 20 stitches are the beginning and ending of the stitch.
Row 1
DCC in the 5th ch from the hook. Ch 1, then DCC into the same stitch, Sk 2 sts, DCC, Ch 1, sk a st, DCC
* then without chaining 1, we’ll be making out LOWER peak here, skip 4 chs and DCC, ch 1 in next st. Skip 1 st, DCC, ch 1, and we’ll be making our UPPER peaks here, Sk 2 sts, | DCC & Ch 1 | 4 times in the same stitch. Skip 2 sts and DCC, Ch 1, sk a st and DCC* Repeat for the rest of row.
End the row:
When you have 3 Ch’s left – Using the very last Ch of row
DCC & Ch 1, DCC & Ch 1 and DC in last Ch of row. Ch 4 and Turn
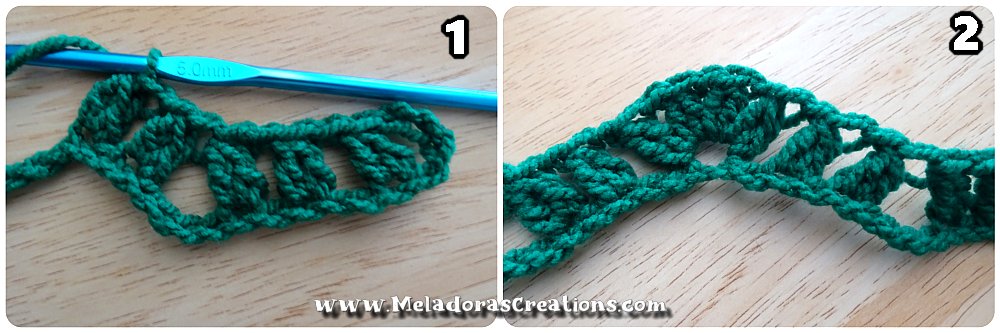
Row 2
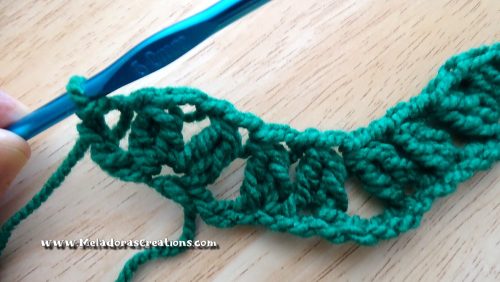
Using the very first Ch of the row. The very next st. DCC, ch 1, DCC, DC all in the same stitch.
That is our beginning section of this stitch. For this row we’ll no longer be working into the chain, but the DCC’s themselves. Skip the next DCC and in the top of the next DCC you want to crochet a DCC, then ch 1. Then DCC in the next DCC as well, * then without chaining 1, we’ll be making out LOWER peak here, Skip over 2 DCC’S and in the 3rd one over put a DCC, Ch 1. in the next 2 DCC’s of the row
Now we’ll be making our UPPER peaks, Sk the next DCC and in the middle ch space we’ll create our next upper peak by doing a | DCC & Ch 1 | 4 times in the same stitch. Then sk the next DCC and in the last DCC of our previous peak, put a DCC, ch 1 in the next DCC too.* Repeat for the rest of row.
End the row:
In the top of the Ending ch 4 – all in the same stitch
DCC & Ch 1, DCC & Ch 1 and DC. Ch 4 and Turn.
BEGINNING OF ROW
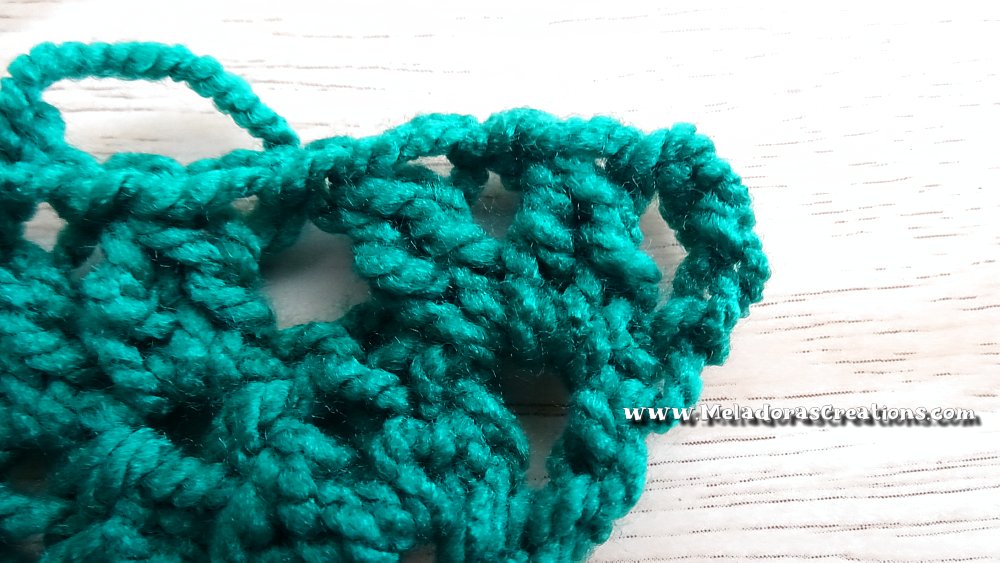
LOWER PEAK
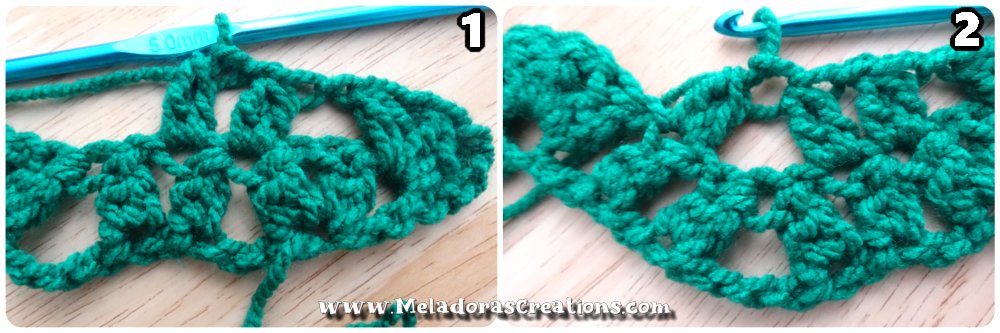
UPPER PEAK
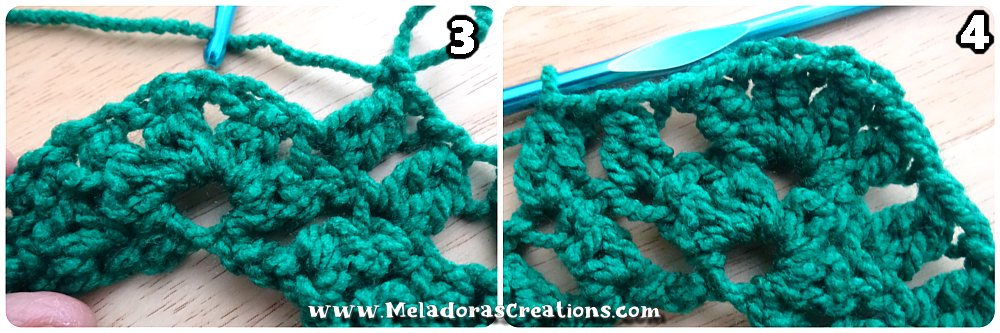
END OF ROW
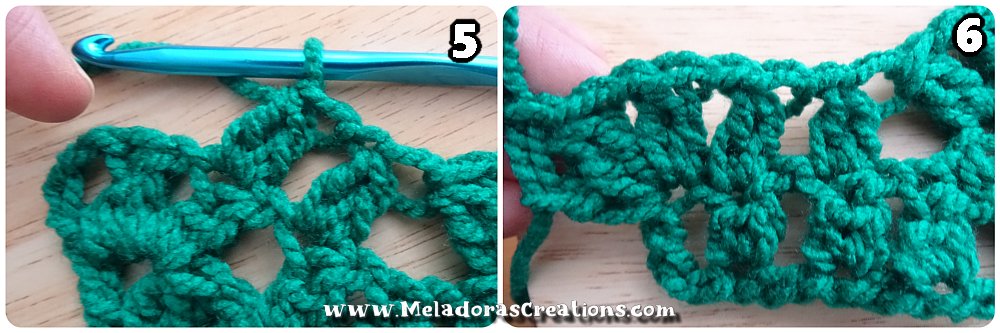
The end of the row may look like it’s over flowing, but don’t worry, it’s supposed to look that way. It starts to work out after a few rows.
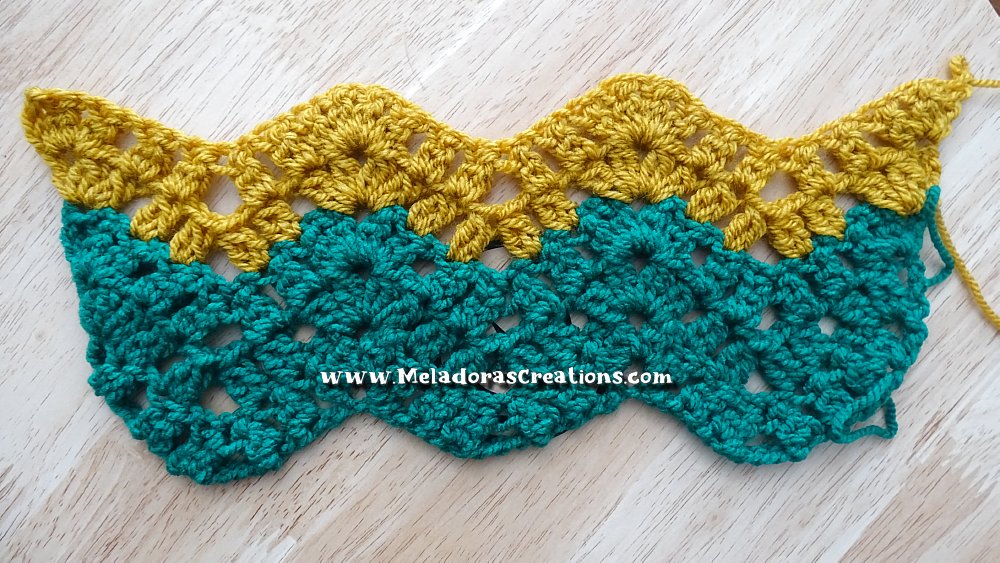
Repeat Row 2 until you reach your desired length.
This pattern is brought to you by www.meladorascreations.com
You can sell any item made from this pattern and link back to my page or videos, but you do not have permission to copy and paste my pattern anywhere online. ©Copyright 2026, All Rights Reserved
PLEASE READ BELOW!
If you’d like to see my channel stay and grow, please consider becoming a patron.
Or you could make a one time donation through PayPal. Thank you so much for your support! God Bless!