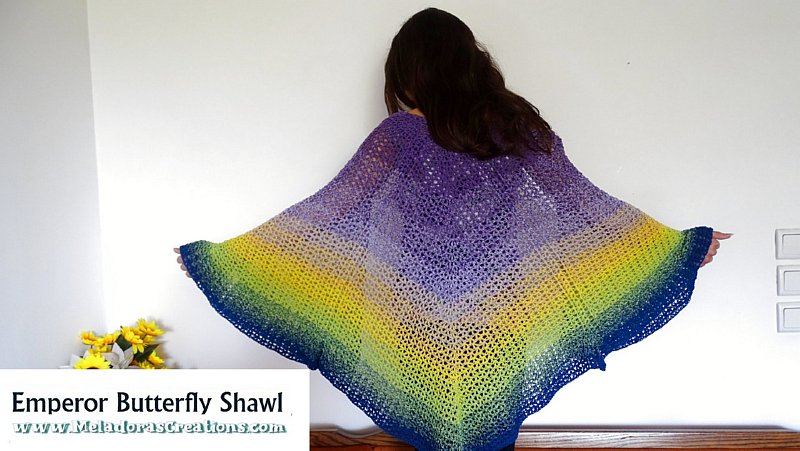
You have a few options for this Butterfly Shawl Crochet Pattern. Just like some Emperor Butterfly’s they have a second area below the wings. I’ve added this section to the shawl. You don’t have to only do this as the border, you can start it halfway down the back of the shawl if you’d like a ruffle shawl. It takes a lot more yarn and will make the shawl warmer and heavier so bare this in mind.
Find more crochet stitches here on my site on the category Crochet Shawls and Ponchos
I also made a page just for the Butterfly Shawls so you can go see all of them encase you’ve missed any. Butterfly Shawls
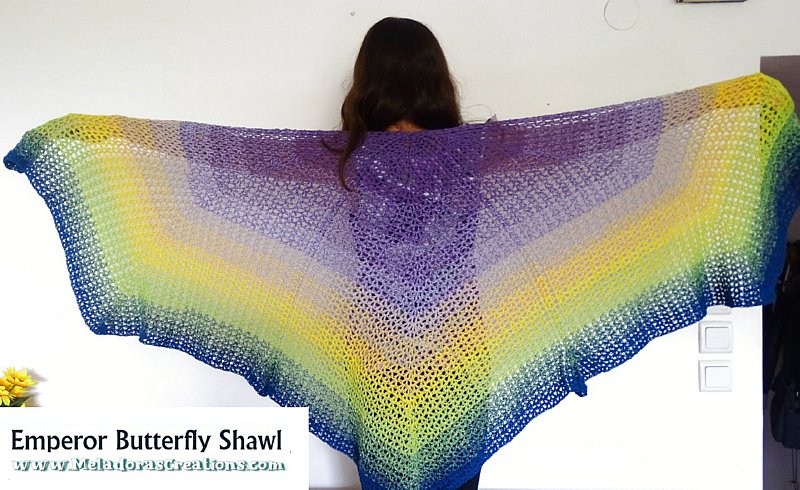
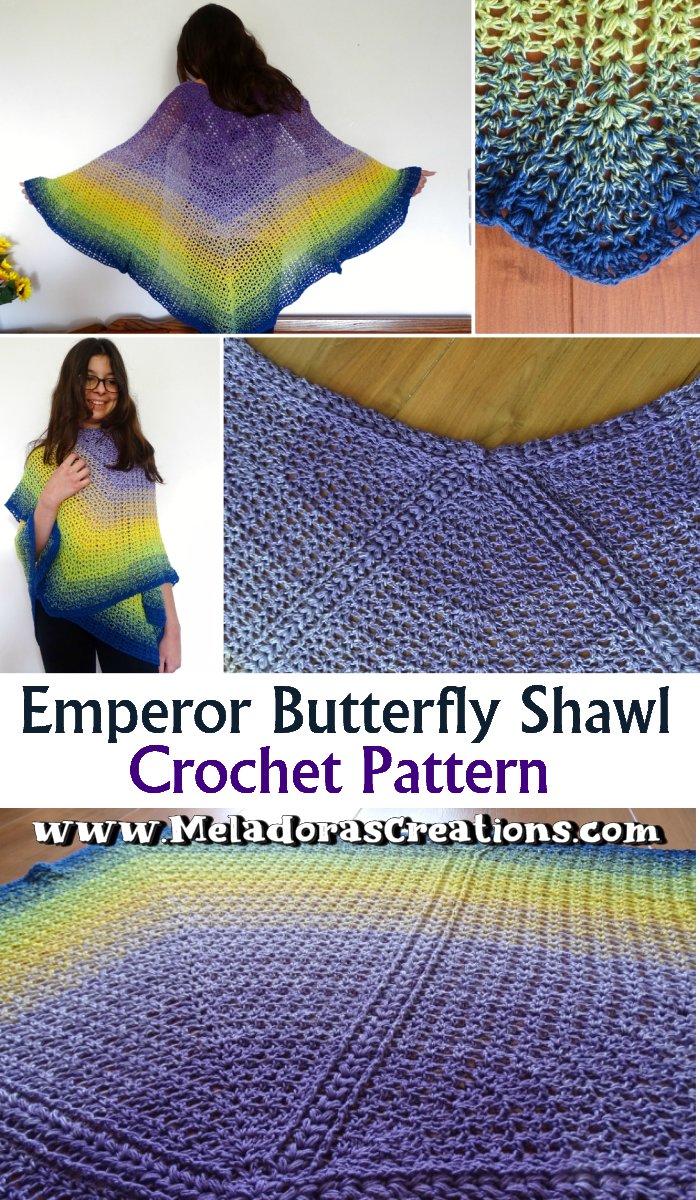
Emperor Butterfly Shawl – Free Crochet Pattern
Please don’t forget to Pin this onto your favorite crochet boards!
This page contains affiliate links
For this project you will need:
- HOOK: 4 mm hook or size G hook for the US
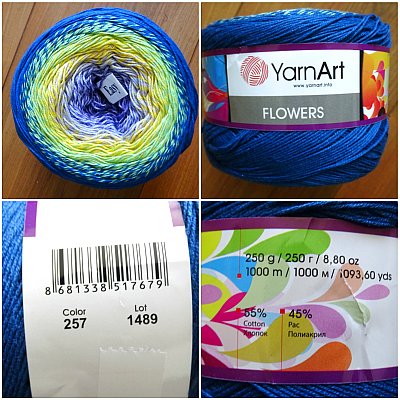
- YARN: I used a 1000 meter Yarn cake from YarnArt’s “Flower” collection. #257
Content: 55% Organic Cotton 45% Anti Pilling Acrylic
- Ball Weight: 250 g (8.8 oz)
- Yarn Weight: 1 : Fingering
- Yarn Length: 1000 m (1093 yd)
TIP when using Yarn Cakes: Add a ball of yarn in the middle before storing. It will prevent the cake from collapsing.
Gauge
Gauge is 2 sts per cm or 5 sts per Inch
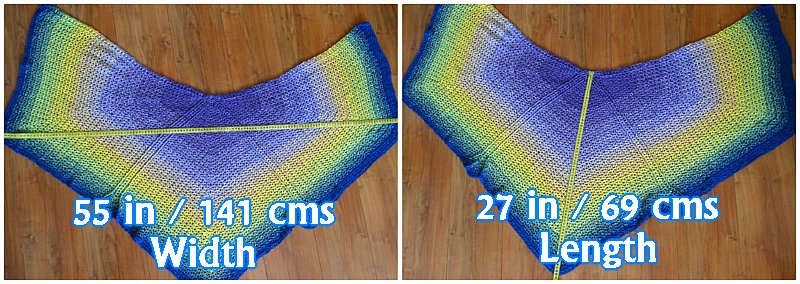
This shawl measures:
- Wide 141 cms \ 55 inches
- Tall 69 cms \ 27 inches

ABBREVIATIONS
(click on link to find tutorials)
ch = Chain
sl st = Slip Stitch
st = Stitch
sk = Skip
beg = beginning
YO = Yarn Over
DC = Double Crochet
FPDC = Front Post Double Crochet
BPDC = Back Post Double Crochet
If there is a () around a # then that means that number will change by 1 each row.
Repeat what’s in between | for # amount of times indicated.
Repeat what’s in between * for rest of round.
Special Stitches
Puff stitch – |YO, insert hook in st, Pull up loop| repeat 2 more times. YO and pull through all loops and ch 1.
cluster stitch – DC 2, ch 1, DC 2
W stitch – DC ch 1, DC ch 1, DC all in same st
V stitch – DC ch 1 DC all in same st
Post st – this will be either the FPDC or BPDC
All my Video Tutorials
If you haven’t yet, take a moment to subscribe to my videos on YouTube to have easy access to all my videos and playlist @meladora1 on YouTube
PDF Pattern with Pictures
You can find the PDF version of my pattern with pictures on Ravlery Or my shop on Etsy. Thank you very much for all you do to support my channel. Or find the Ebook of all 10 Shawl patterns here
Row 1
Ch 3, DC 8 into 1st ch. Ch 1 and turn
Row 2
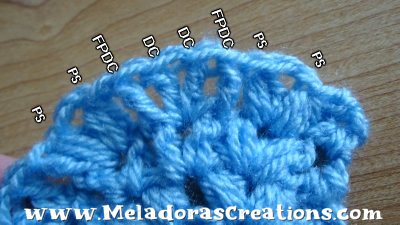
FPDC on first DC. Sk next DC and PS twice in next st. Sk next DC, PS 4 times in next DC. Sk next DC and PS twice in next DC. Skip next st and FP on post of ending ch. Ch 1 and turn.
Row 3
BP in 1st post. PS twice in between the 2 PS’s, DC twice in next space. Brings us to the middle PS’s now. | DC twice in the puff stitches | repeat 2 more times. DC twice in the space. PS twice in between the 2 PS’s. BP on last post. Ch 1 and turn
Row 4
FPDC on 1st post. PS twice in between the 2 PS’s. Now the next 2 DC’s you will work as follows,
FPDC on the Post of the first DC then DC twice in the space between the 2 DC’s. Then FPDC on the post of the second DC. Then moving on to the next DC’s…
Then skip the first DC and just PS twice in the space in between the next 2 DC’s. Then FPDC on the post of the next DC.
DC twice in the space between your next 2 DC’s. That will be your middle point. Now moving to the next set of DC’s.
Now we’ll repeat what we did before. FPDC on 1st post. PS twice in between the 2 PS’s. Now the next 2 DC’s you will work as follows,
FPDC on the Post of the first DC then DC twice in the space between the 2 DC’s. Then FPDC on the post of the second DC.
Then skip the first DC and just PS twice in the space in between the next 2 DC’s. Then FPDC on the post of the next DC. Ch 1 and turn.
Row 5
BPDC on 1st Post. PS twice in between the 2 PS’s. BPDC on the next Post st. * DC 4 times in between the next 2 DC’s, BPDC on next Post st, PS twice in between next 2 PS’s, BPDC on next Post st * Repeat for row. BPDC on last post st. Ch 1 and turn.
Row 6
FPDC on 1st Post. PS twice in between the 2 PS’s. FPDC on the next Post st. Working now in the spaces between our 4 DC’s as follows..
*DC 2 in between the first 2 DC’s, DC 4 in between the middle 2 DC’s, DC 2 in between the last 2 DC’s. FPDC on the next Post st. PS twice in between the 2 PS’s. FPDC on the next Post st. * Repeat for row. FPDC on last post st. Ch 1 and turn.
Row 7
BPDC on 1st Post. PS twice in between the 2 PS’s. BPDC on the next Post st. Working now in the spaces between our 4 DC’s as follows..
DC 2 in between the first 2 DC’s and DC 2 between the next set of DC’s as well, V st (DC, ch 1, DC) in between the middle 2 DC’s, DC 2 in between the next 2 DC’s and the last 2 DC’s. BPDC on the next Post st. PS twice in between the 2 PS’s. BPDC on the next Post st. * Repeat for row. BPDC on last post st. Ch 1 and turn.
Row 8
FPDC on 1st Post. PS twice in between the 2 PS’s. FPDC on the next Post st. From now on we’ll be using V stitches (DC, Ch 1, DC) So *V stitch in the next 2 sets of DC’s. This brings you up to the middle V stitch, in this stitch you’ll create your first W stitch, so DC , ch 1, DC, ch 1, DC into the V st.
V st into the next 2 sets of DC’s on this side as well.
FPDC on the next Post st. PS twice in between the 2 PS’s. FPDC on the next Post st. * Repeat for row. FPDC on last post st. Ch 1 and turn.
If there is a () around a # then that means that number will change by 1 each row.
Row 9 – First row of Repeat
BPDC on 1st Post. PS twice in between the 2 PS’s. BPDC on the next Post st. * V st in the next (2) V sts. This brings you up the the W stitch. Put a V stitch in both spaces of the W st. V st in the next (2) V sts. BPDC on the Post st. PS twice in between the 2 PS’s. BPDC on the next Post st. * Repeat for row. BPDC on last post st. Ch 1 and turn.
Row 10 – Last row of repeat
FPDC on 1st Post. PS twice in between the 2 PS’s. FPDC on the next Post st. * V st in the next (3) V sts.
Then do a W stitch in the next SPACE between V sts. Then V st in the next (3) V sts. FPDC on the Post st. PS twice in between the 2 PS’s. FPDC on the next Post st. * Repeat for row. FPDC on last post st. Ch 1 and turn.
Repeat rows 9 and 10
Until your 1000 meter skein runs out or you reach the desired size. Feel free to use any ply yarn and corresponding Hook size. For example you could use ply 4 worsted weight yarn and a H hook \ 5 mm hook. The pattern design is never ending so you could crochet it until you reach your desired size. So this can be made for any size person.
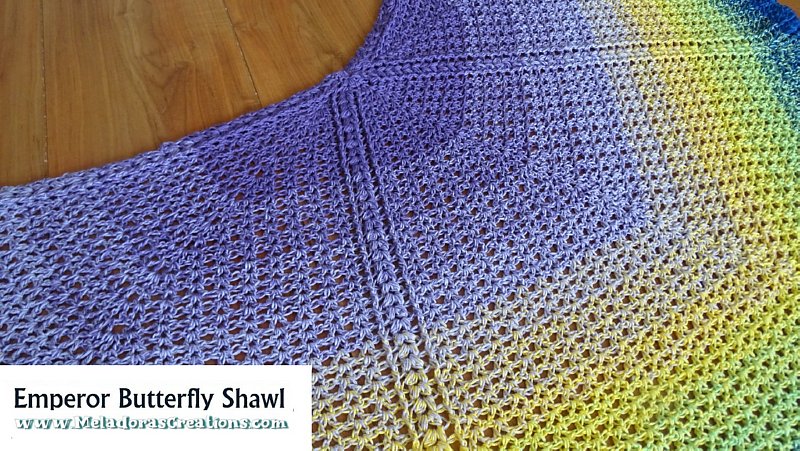
It’s IMPORTANT to MARK your 3 peak area’s to ensure that you are keeping the same middle stitch.
Make your Markers long so you can pull one through to the other side of the shawl so that you can clearly see it from both sides of the shawl.
Pattern For The Bottom Edge of Shawl
Once your shawl can be draped over your back and cover it to your waist, then I recommend starting the bottom edge of the shawl.
When using the 1000 meter skein, I waited until I was midway through my skein’s last color changes before I started my edge because I wanted to have a blending effect going into the start of my edging. I feared if I did the color change only in the darkest color, that my border wouldn’t be as noticeable.
Feel free to start yours at your own discretion, but keep in mind it is an increase so it will cause a ruffle effect. This will change the overall look of the design and also uses a lot more yarn, so be sure to leave yourself enough yarn for it.
When you’re ready to start your edge you want to begin on the row that has the FRONT POST’s facing you.
Row 1 of edging
You will continue to do the first and last Puff stitch area’s the same way so that your edges stay consistent. You will only be changing the two PS area’s in the middle of the shawl.
FPDC on 1st Post. PS twice in between the 2 PS’s. FPDC on the next Post st. * V st in your V sts until you reach your peak. Then do a W stitch in the next SPACE between V sts. V st in your V sts until you reach the first FPDC of the PS area. FPDC on the post, but PS FOUR times in between the 2 PS’s this time. FPDC on the next Post st. * Repeat for row. Remember you will be doing the last PS area as normal. Ch 1 and turn.
Row 2 of edging
BPDC on 1st Post. PS twice in between the 2 PS’s. BPDC on the next Post st. * V st in the next (?) V sts. This brings you up the the W stitch. Put a V stitch in both spaces of the W st. V st in the next (?) V sts. BPDC on the post st. Now we’re in the new area again. We have the 3 spaces in between our 4 PS’s from last row. They will be worked as followed. Put 2 PS’s in the first space. Put a W stitch in the middle stitch (dc,ch1,dc,ch1,dc) then in the third space put 2 PS’s. BPDC on the post st.* Repeat for row. Remember you will be doing the last PS area as normal. Ch 1 and turn.
Row 3 of edging
BPDC on 1st Post. PS twice in between the 2 PS’s. BPDC on the next Post st. * V st in the next (?) V sts. V st in your V sts until you reach your peak. Then do a W stitch in the next SPACE between V sts.
V st in your V sts until you reach the first BPDC of the PS area. PS in your PS then BPDC on the Post stitch. Now we’re in the new area again. On the W stitch of this area. BPDC in 1st post. DC Twice in first space of W and the second space of the W then BPDC on last post of the W. PS in your PS then BPDC on the Post stitch. * repeat for row.
Remember you will be doing the last PS area as normal. Ch 1 and turn.
Row 4 of edging
FPDC on 1st Post. PS twice in between the 2 PS’s. FPDC on the next Post st. * V st in the next (?) V sts. V st in the two spaces of your W st at peak. V st in the next (?) V sts.
This brings you up the new area. FPDC on the post st. PS in your PS, FPDC on the post st. V stitch in space between your first set of 2 DC’s, W stitch in the space between. V stitch in space between the second set of 2 DC’s. FPDC on the post st. PS in your PS then FPDC on the Post stitch. Now working as normal again. V st in the next (?) V sts. Put a V stitch in both spaces of the W st. * repeat for row.
Remember you will be doing the last PS area as normal. Ch 1 and turn.
Row 5 of edging
BPDC on 1st Post. PS twice in between the 2 PS’s. BPDC on the next Post st. * V st in the next (?) V sts. until you reach your peak. Put a W stitch between your two V sts. V st in the next (?) V sts. until you reach your new section. BPDC on the post st. PS in PS. BPDC on the post st. V st in the next (?) V sts. until you reach your peak. Put a W in the space between V sts. V st in the next (?) V sts. BPDC on the post st. PS in PS. BPDC on the post st. * Remember you will be doing the last PS area as normal. Ch 1 and turn.
You’ll be repeating Rows 4 and 5 until your shawl reaches your desired size. Remember on the repeat of row 4 in the new area be sure to use 2 DC’s and not V sts when crocheting in the W stitch there.
You don’t have to only do this “border” idea at the end of the shawl, you can start it halfway down the back if you’d like a ruffle shawl. It takes a lot more yarn and will make the shawl warmer and heavier so bare this in mind.
This pattern is brought to you by www.meladorascreations.com
You can sell any item made from this pattern and link back to my page or videos, but you do not have permission to copy and paste my pattern anywhere online. ©Copyright 2023, All Rights Reserved
PLEASE READ BELOW!
If you’d like to see my channel stay and grow, please consider becoming a patron.
Or you could make a one time donation through PayPal. Thank you so much for your support! God Bless!