
I made many flower crochet garlands to wrap around things and to hang on the wall, but I wanted to make something bigger to hang next to my bed. I’ve seen garlands that hung from branches, but I wanted it to be fully flat against to wall and safe for me to walk past every night without hurting myself, so this is why I hung it up by 4 nails only, high above my head. Hanging it by nails gives the top of the design a zig zag which I love!
I wake up every morning and it’s the first thing I see and it brings me joy, so much so that I had to make one for my Mother-in-law in hopes it would do the same for her. She will soon have to have surgery and I wanted her to have something to look at while she’s laying in bed that’s not just some blank white wall. She said she really loves it ❤️.
You can find more projects like this in the category Crochet for the Home
You can find more projects like this in the category Scrap Yarn Patterns
You can find more projects like this in the category Flowers & Grannies
You can find more projects like this in the category Summer Crochet
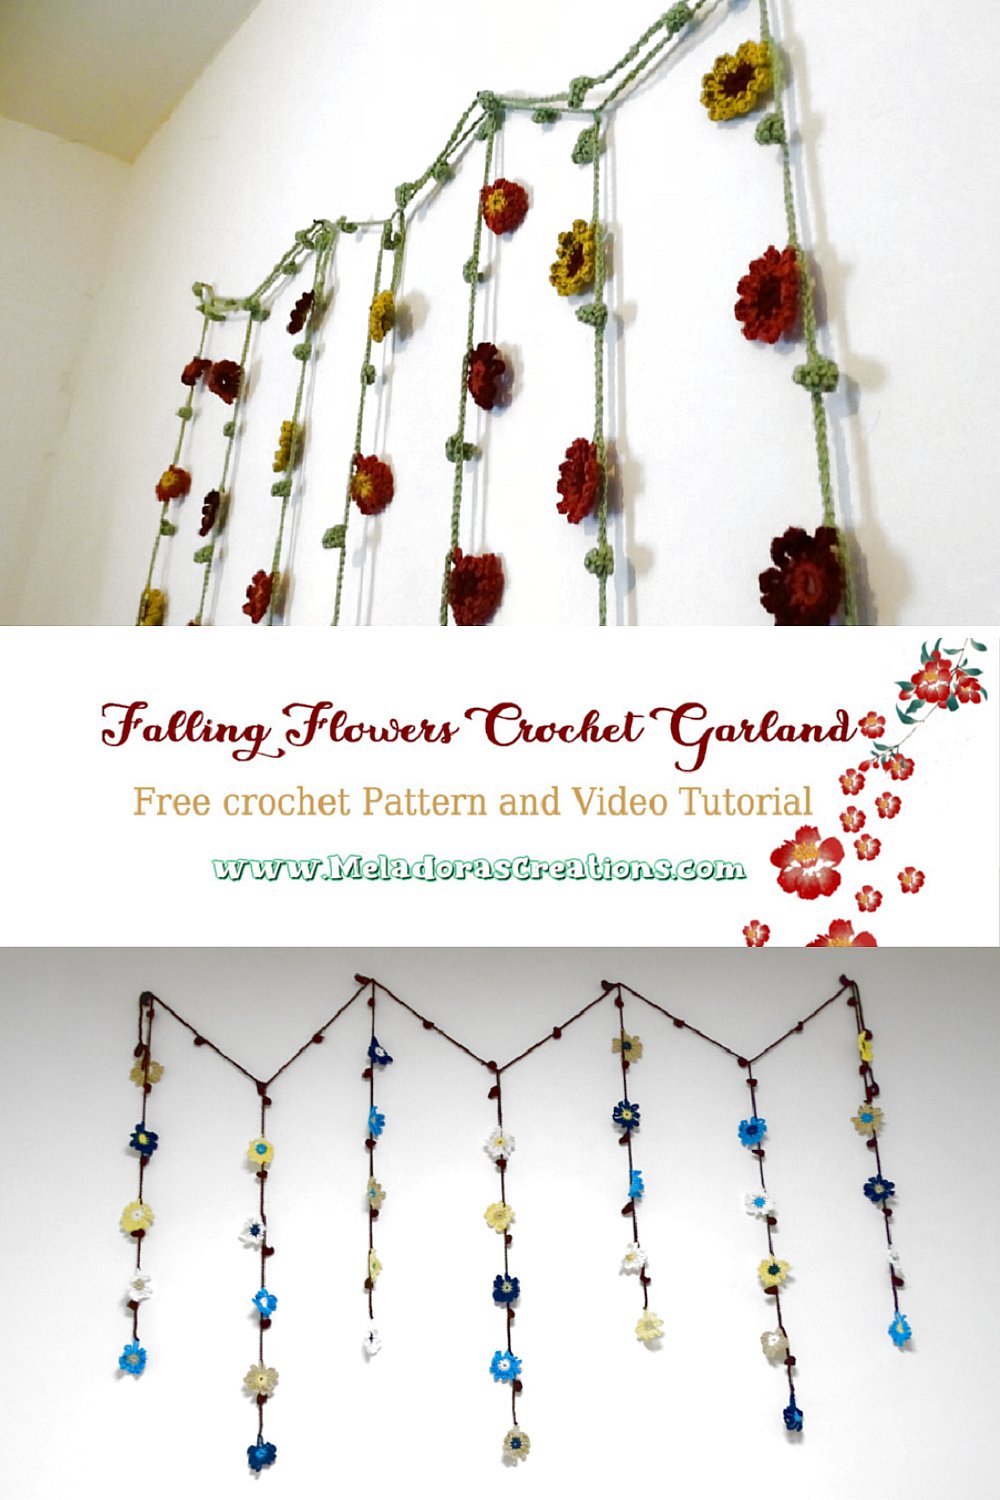
Falling Flowers Crochet Garland – Free Crochet Pattern and video tutorial
Please don’t forget to Pin this onto your favorite crochet boards!
This page contains affiliate links
For this project you will need:
- HOOK: 4 mm hook or size G-6 hook for the US or 5 mm / H hook for bigger flowers and chain
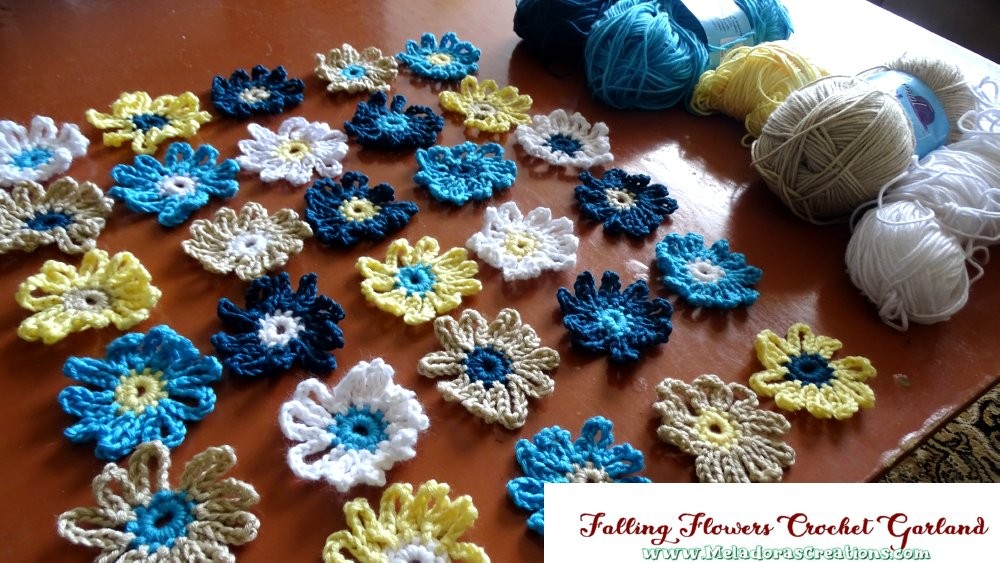
- YARN: at least 3 colors – worsted weight yarn, 4 ply US, 10 ply AU – You can use scrap yarn of all different colors to use for the flowers, or grab a skein of yarn of one color. But you will need minium one skein for the flower petals, one for the center of the flower and one for the leaves / connecting flowers
- Tapestry Needle to hide your tails
ABBREVIATIONS
(click on link to find tutorials)
ch = Chain
sl st = Slip Stitch
St = Stitch
Sp = Space
SC = Single Crochet
DC = Double Crochet
HDC = Half Double Crochet
Repeat what’s in between * for rest of round.
PDF of BOTH Patterns with Pictures
You can buy the ad free PDF version of BOTH patterns with pictures on Ravelry or Etsy to support this channel. Either way thank you for being here and for all you do to support my channel.

THE VIDEO TUTORIALS:
All my Video Tutorials
If you haven’t yet, take a moment to subscribe to my videos on YouTube to have easy access to all my videos and playlist @meladora1 on YouTube
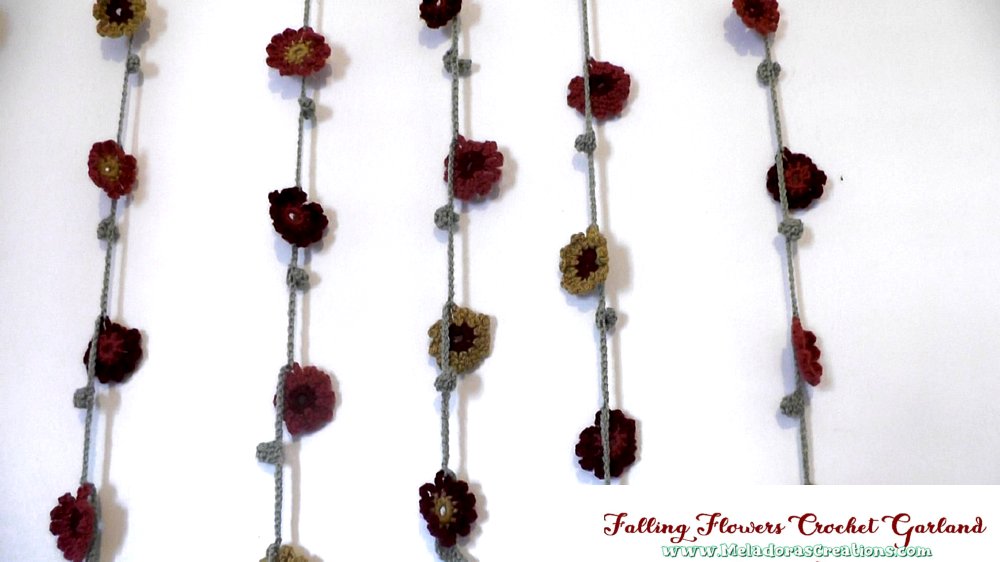
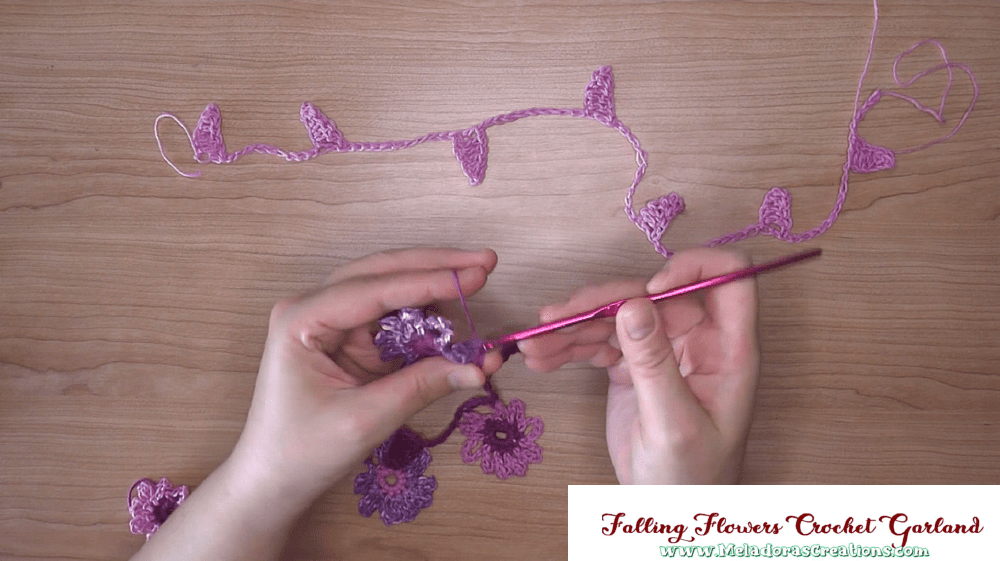
Making the Flower Vines
Go to my 🌸Flower Garland Crochet Pattern to learn how to make the Flower vines.

Feel free to change the colors of the flowers you use every time if you want. Play around with your scrap yarn!
To make the Falling Flower Crochet Garland you need to make 7 Flower Garland vines with 5 flowers with leaves. Once you have that then made, then it’s time to make the leaf vine.
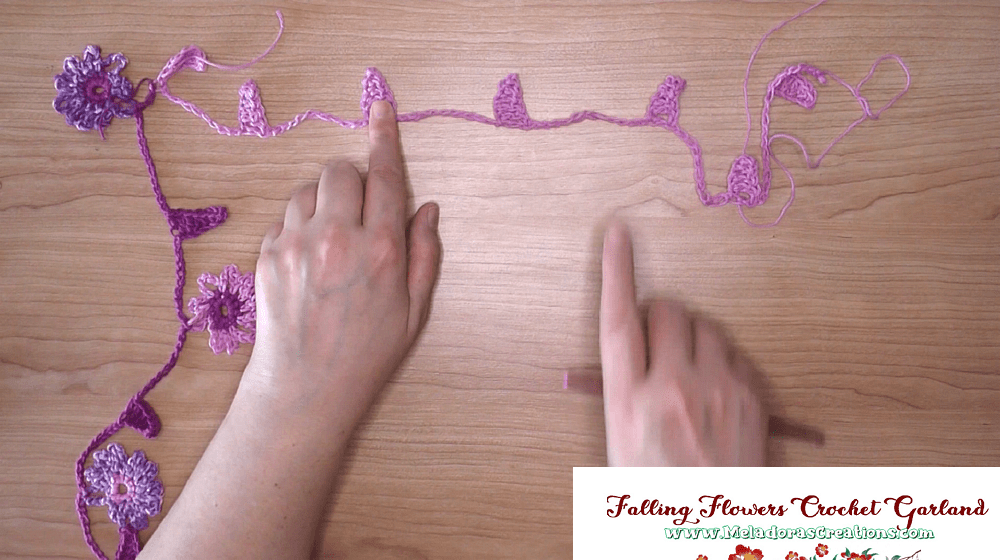
Making the Leaf Vine
Ch 7 and make a leaf as before (SC, HDC 2, DC2, HDC) Chain 17 then make another leaf. Do this until you have 13 leaves minimum. Though I recommend making it longer. I’ll tell you why at the end.
Attaching your Flower Vines
Attach your first flower vine to the 1st leaf on the vine by slip stitching. Then you will be attaching a flower vine to every other leaf. Hang it up on the wall by the leaf the has the flower vine attached.
Attach your flower vines on every other leaf. If you want your flower vine to be tighter then just keep in mind that you need 7 chains to make a leaf. You could make the space between the leaves shorter than 10 chains, so instead of chaining 17 (7 for to make the leaf and 10 for spacing) you could reducing the spacing chain to 7 too for a total of 14 chains before making a leaf. Do whatever you like.
If you made your vine much longer so you can wrap it later on, then just make sure to start on the leave that will give you an even amount of leaves hanging on both sides.
I made my leaf vine longer so that I could use the excess to feed along the top to make it look more leafy.
See numbers below: Hang your first flower vine on the 1 posistion, then the 2nd flower vine on the 2 posistion..etc ending on the 7th with your 7th flower vine.
1 0 2 0 3 0 4 0 5 0 6 0 7

This pattern is brought to you by www.meladorascreations.com
You can sell any item made from this pattern and link back to my page or videos, but you do not have permission to copy and paste my pattern anywhere online. ©Copyright 2025, All Rights Reserved
PLEASE READ BELOW!
If you’d like to see my channel stay and grow, please consider becoming a patron.
Or you could make a one time donation through PayPal. Thank you so much for your support! God Bless!