How to Crochet a Rag Doll Pattern using 2 methods and lots of pictures. You can find the link to this Amigurumi Doll Pattern on either of my shops or scroll down to find the free crochet doll pattern. The Basic Amigurumi Body free crochet pattern can be found here.
Once you have the doll body created, come back to this page to create the Lilly Doll. I also have a Scarecrow that I created using the basic Amigurumi Body pattern as well. if you need one.
You can find more Amigurumi here.
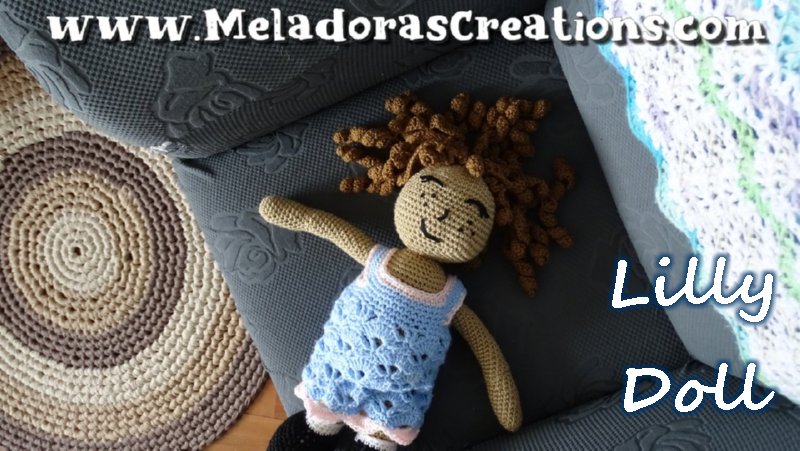
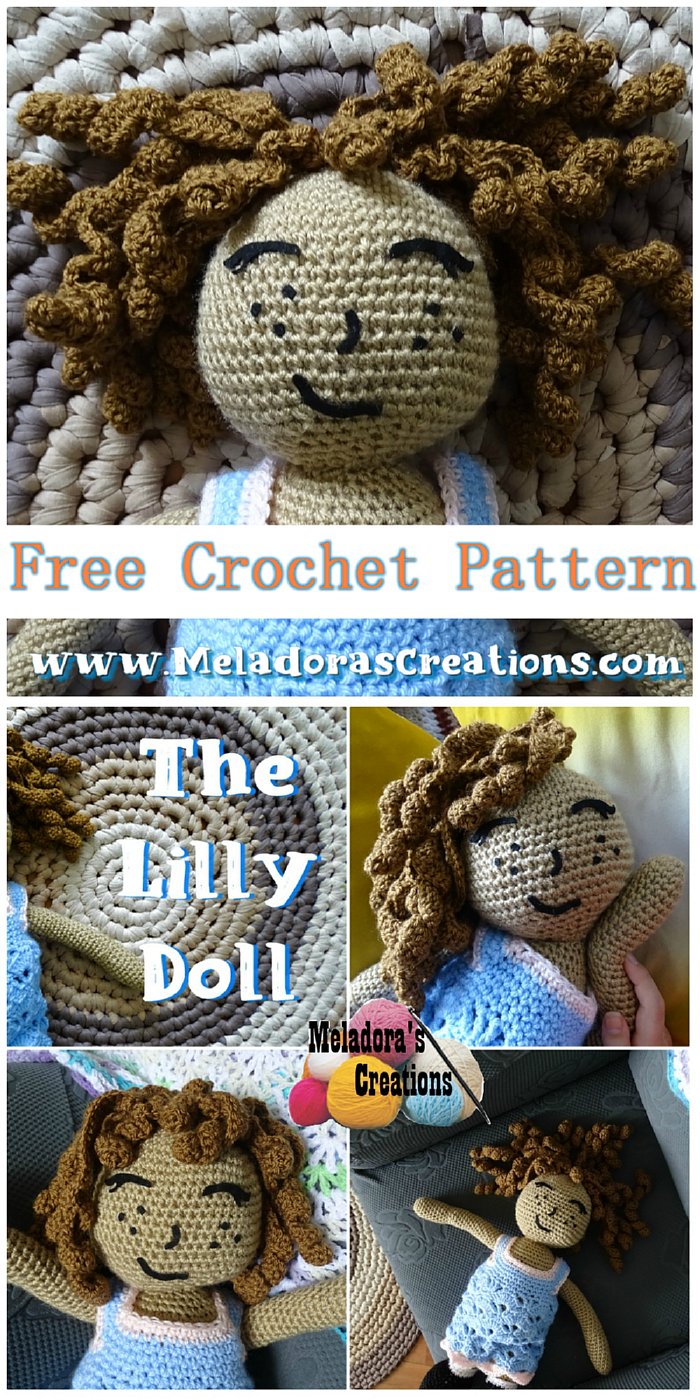
Lilly Crochet Amigurumi doll – Free Crochet Pattern and Video tutorial
Please don’t forget to Pin this onto your favorite crochet boards!
This page contains affiliate links
For this project you’ll need:
- HOOK: 3 mm \ C Hook and a 5 mm \ H Hook
- YARN: medium 4 ply worsted weight yarn \ Aran 10 ply
2 skeins is 100 grams / 250 meters or 273 yards For the body.
Small amount of black and white yarn in worsted weight size 4 ply
- tapestry needle and scissors
- Black Felt
- Some super glue or use a hot glue gun (this is what I used)
- Tooth pick (to apply the glue)

Finished Doll measures – 50 cms \ 20 inches
ABBREVIATIONS
(click on link to find tutorials)
ch = Chain
sl st = Slip Stitch
st = Stitch
sk = Skip
inc = Increase
dec = decrease
beg = beginning
YO = Yarn Over
SC = Single Crochet
DC = Double Crochet
Sc dec = single crochet decrease
Repeat what’s in between * for rest of round.
PDF Pattern with Pictures
You can buy the ad free PDF version of my pattern with pictures on Ravelry or Etsy to support this channel. Either way thank you for being here and for all you do to support my channel.
Lilly Doll
Grab your 3 mm \ C hook and let’s make some hair!
I made 3 lengths of hair and filled them in where needed. I used 23 total pieces. I don’t recommend using more than that because the head will get to heavy.
I had 3 starting chain lengths.
- Longest – ch 40 – I made 7 of these.
- Medium – ch 30 – I made 12 of these.
- Short – ch 20 – I made 3 of these
The pattern is do a ch of (?) Then working along your chain…
– DC 2 (inc) in 3rd ch from the hook. DC 2 (inc) in the next 7 chains. (This will create the curl at the end.) *DC 1 in the next 5 chs, DC 2 (inc) in the next 5 chs* repeat what’s in between the *’s until you reach the end of your chain.
I did do one chain of 10 and I DC 2 (inc) down my chain to make a small curl to be sewn right in front.
It’s important to leave a tail before creating your slip knot so that you can hide the tail easier. Or use it to crimp the piece of hair.
I started at the top of the head and worked around in a half circle. Skipping a stitch in between.
When you’ve made a strand of hair and are ready to attach it, insert your hook and YO, pull your loop through the stitch and ch 1. Pull your tail through the loop to secure.
You can tie the tails together or use them to better position your piece of hair on the head.
You can use your extra long tails to weave and crimp the hair a bit as well by running it through your piece of hair.
The Dress
- Using your 5 mm \ H hook
- This stitch is in Multiples of 8
To Start
Ch 56 connect your ch to form a ring using a sl st in your beginning ch.
Round 1
CH 1 and sc into the connection stitch. *Sk 3 chs and DC 9 in the next st. Sk 3 chs and sc in the next st. * Repeat for round. Sl st to beg sc to end round. You should have 7 shells total.
Round 2
Ch 3 and DC into the same st. * CH 1 skip 3 DC’s. SC into the next 3 DC’s, Ch 1 and using the SC between our shells, crochet a V stitch (DC, CH 1, DC) into the sc. * Repeat for round. Ch 1 and sl st into V stitch to end round.
Round 3
ch 2 and DC 6 into the V stitch. * SC into the center SC. SC 9 into the next V stitch * Repeat for round.
Put 3 DC’s into last V stitch of round using the same beginning stitch working over the first ch 2. So you’re beginning and ending the round in the same stitch you’re just adding to the stitches. Sl st in the first DC of the round to end your round.
Round 4
CH 1 and SC into the beg st. SC in the next 2 DC’s, * Ch 1 and using the SC between our shells, crochet a V stitch (DC, CH 1, DC) into the sc. CH 1 skip 3 DC’s. And SC in the next 3 DC’s * Repeat for round. Sl st into beg sc to end round.
Round 5
CH 1 and SC into the same st. * SC 9 into the next V stitch, sc into middle sc. * Repeat for round. Sl st into beg sc to end round.
Repeat rounds 2 – 5 until you have a total of 6 rounds of shells, be sure to complete the next round of V stitches to flatten to have a flat row to work with next round.
Top portion of dress
Round 1
ch 1 * sc in the 3 sc’s, sc in the ch 1 space. Sc in the V stitch. Sc in the next ch 1 space. * repeat. At the end of your round you should have 42 sts.
Round 2
ch 1 and sc in all 42 sts around
Round 3
ch 15, skip 6 sts and sc in next 13 sts. Ch 15, skip 6 sts. Sc to beg marker.
Round 4
ch 1 and *sc into the 15 chs of the strap. Sc into the next 15 sts* repeat one more time to end round.
Round 5
Move your marker to the beginning of this round. Sc in all 60 sts around.
Round 6
Do a sc dec using the corner sts to round off your corners some.
Sc in next 13 sts across the front. Sc dec before strap. Sc in next 13 sts. Sc dec using last 2 sts of row. ( 57 sts)
Round 7 – CHANGE COLOR TO PINK
Sc dec before strap, Sc in next 11 sts across the front. Sc dec before strap. Sc in next 11 sts. Sc dec using last 2 sts of row. ( 54 sts)
Round 8
Do 2 sc decreases at the strap corner *sc in next 8 sts, Do 2 sc decreases * repeat until you reach beginning marker.
INNER ARM HOLES – with PINK
Repeat like you did above. SC dec in the 2 inner corner sts and sc in rest. You should have 21 sts.
Bottom of Dress – with PINK
Attach your yarn into one of the large hole stitches at the bottom of a shell using a DC attachment.
DC 5 into the same st * sc in the st between the large sts. DC 9 in next large shell stitch. * repeat for row. Sl st in beg st, ch 1 and cut your yarn.
We’re using the bottom stitches of our Diagonal Shell stitch and we’re trying to create a mirror row in pink.
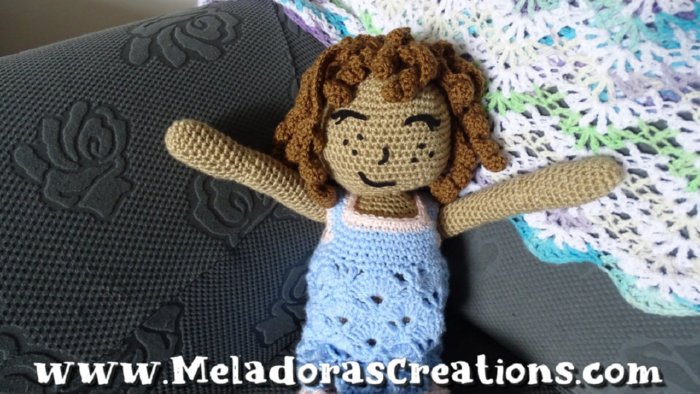
The Doll’s Face
When my daughter designed this doll I thought for sure that she would want these big anime like eyes.
She’s the one who helped design the eyes for the Teddy Bear and Unicorn Lovey patterns.
So when she handed me this drawing of the face she wanted I was surprised.
But I grabbed my black felt and started cutting! Took be a few, but I finally got something I thought fit the space that I liked.
- The eyes and mouth came out about 4 cms \ 1 ½ inches wide.
- The whole face is about 9 cms \ 3 ½ inches wide in total.
Feel free to use this photo to help you create this face.

Grab your hot glue gun and a toothpick. Dab a bit of hot glue onto the end of your toothpick and quickly side it under your black felt.
Trying to do this quickly and efficiently before the glue dries and avoiding any string getting caught on the dolls face can be tough. Go to a well lit place and do a few practice runs using a piece using a piece of paper if you feel you need to. You don’t want a bunch of dried glue where you didn’t want it!
This pattern is brought to you by www.meladorascreations.com
You can sell any item made from this pattern and link back to my page or videos, but you do not have permission to copy and paste my pattern anywhere online. ©Copyright 2024, All Rights Reserved
PLEASE READ BELOW!
If you’d like to see my channel stay and grow, please consider becoming a patron.
Or you could make a one time donation through PayPal. Thank you so much for your support! God Bless!