The Basket Weave Crochet Stitch is an all time classic. It’s easy to do and the texture looks great and whatever you make form it comes out warm. You can use it to make a sweater, pillow or beautiful blanket. You’ll quickly master this stitch with these tutorial and free crochet pattern.
Find more crochet stitches here on the category Crochet Stitches.
Other Patterns that use this stitch:
- Crochet Sideways Beanie
- Basketweave Granny Square
- Basketweave Granny Square Afghan
- Basketweave Version 1
- Basket Weave Stitch Version 3
This is the first of 3 ways I’m going to show you on how to crochet the Basket Weave stitch. I hope you’ll also check out Version 1 & Version 3.
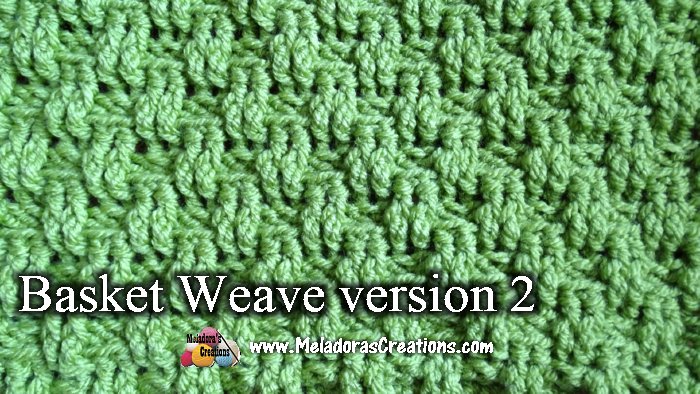
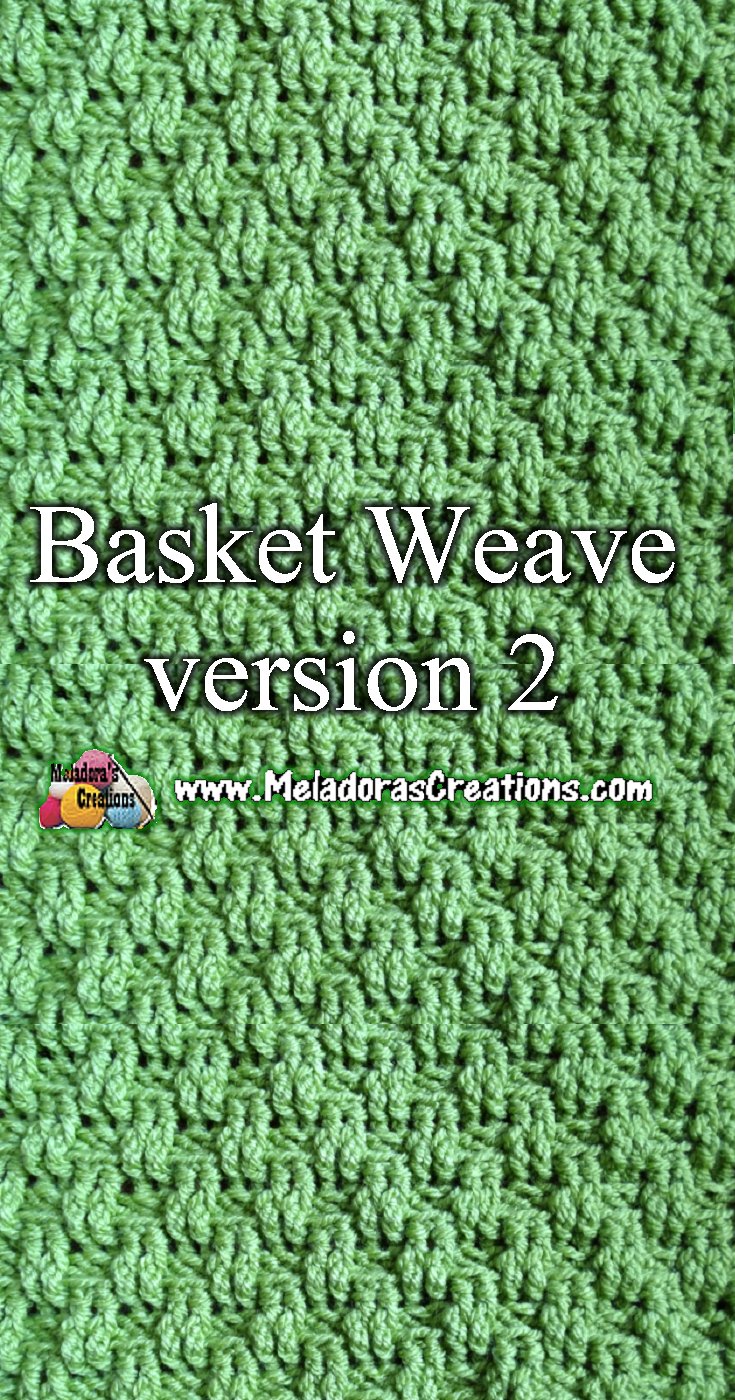
Basket Weave Crochet Stitch (Version 2) Crochet Stitch – Free Crochet Pattern and video tutorial
Please don’t forget to Pin this onto your favorite crochet boards!
This page contains affiliate links
For this project you will need:
- HOOK: Any size but I used 5 mm hook or size H hook for the US
- YARN: Any size but I used worsted weight yarn, 4 ply US, 10 ply AU
ABBREVIATIONS
(click on link to find tutorial)
Ch = Chain
YO = Yarn Over
DC = Double Crochet
FPDC = Front Post Double Crochet
BPDC = Back Post Double Crochet
Repeat what’s in between * for rest of round.
THE VIDEO TUTORIALS:
All my Video Tutorials
If you haven’t yet, take a moment to subscribe to my videos on YouTube to have easy access to all my videos and playlist @meladora1 on YouTube
The Multiples of this stitch
This stitch is done in multiples of 4 + 3
To start:
What this means is you ch in multiples of 4 until you reach your desired size, then once you have, ch 3 more and then you’re ready for row 1.
Row 1
DC in the 3rd ch from the hook.
DC in all stitches of row. Make sure you end your row on an even #
Ch 3 and Turn
Row 2
Using the very first POST of the row.
YO and FPDC on the First and Second post’s of row.
*YO and BPDC on the post’s of the next two stitches
YO and FPDC on the post’s of the next two stitches*
repeat for row.
You should end perfectly on a pair of stitches. Either 2 FPDC’s or BPDC’s.
Ch 3 and Turn
Rows 3 & 4
We’ll be doing the opposite of what you see this row.
Meaning you’ll be Crocheting a BPDC on your FPDC’s and vise versa
So if you ended on 2 BPDC’s last row, then when you ch 3 and turn they will be FPDC’s facing you this row. Instead of going with the flow and doing FPDC’s on your FPDC’s instead you’ll be doing BPDC’s on them.
You’ll repeat this for the row, continuing to put FPDC’s on your BPDC’s and etc… until you reach the end of your row.
Ch 3 and Turn
Rows 5 & 6
For the next two rows it’s time to go with the flow!
You will be crocheting FPDC’s on your FPDC’s and BPDC’s on your BPDC’s and etc… until you reach the end of your row.
Ch 3 and Turn
Repeat rows 3 – 6
This pattern is brought to you by www.meladorascreations.com
You can sell any item made from this pattern and link back to my page or videos, but you do not have permission to copy and paste my pattern anywhere online. ©Copyright 2024, All Rights Reserved
PLEASE READ BELOW!
If you’d like to see my channel stay and grow, please consider becoming a patron.
Or you could make a one time donation through PayPal. Thank you so much for your support! God Bless!